I recommend making your Blog post featured images 1200×630 pixels. Not only does this allow for consistency in the look of the site, it also works well for sharing on social media.
In this tutorial, I want to show you how easy it is to create 1200x630px featured images using your existing photos using the free Canva.com platform.
About Canva.com
Canva is a graphic design platform, used to create social media graphics, presentations, posters, documents and other visual content. The app includes templates for users to use. The platform is free to use and offers paid subscriptions like Canva Pro and Canva for Enterprise for additional functionality.
Getting Started
1. Sign up for the free account by visiting Canva.com
2. Select “Create Design”
3. Select “Custom Size”
4. Enter in the 1200×630 dimensions and select “Create new design”
5. You can now drag and drop your image into the 1200×630 frame or open “Uploads” and select the “Upload Media” button.
6. Now that you have added the image, you can resize it so that it fits in the 1200×630 frame the way you want it to appear.
7. Once you like the way it sits, you can click on the “Download” button on the top of the page. I recommend using the JPG file type to keep the file size web friendly.
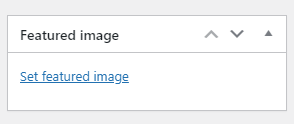
8. Now you can add it to your blog post “Featured Image”
In Closing
There are so many more things you can do with Canva.com. While I am an Adobe customer, I still use Canva for most of my social media posts and sometimes for other documents such as brochures, menus, etc. Hope you found this useful.


