Awhile back I wrote a Divi Blurb tutorial for creating an animated line that sweeps left to right when hovering over the blurb.
For a recent project I needed to add an underline under the title that showed whether or not you hovered over the blurb. And it needed to be a fixed width of only 40px wide.
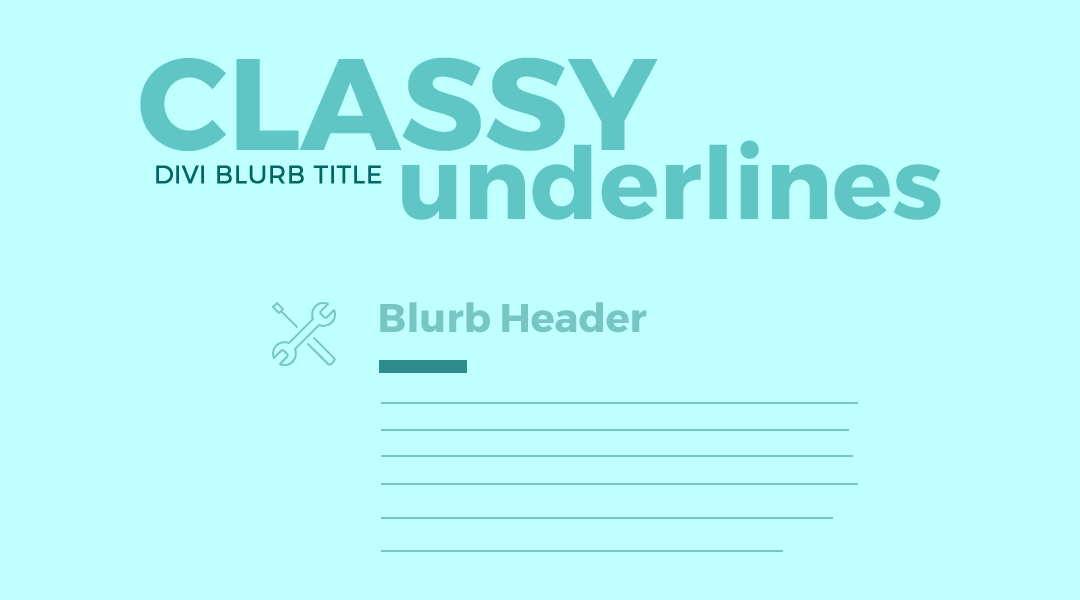
In this tutorial I am going to show you how you can use a little custom CSS to add a classy underline between the Divi Blurb title and content. We also use the CSS to add more hover controls to the rest of the blurb.
Let’s Get Started Making The Divi Blurb Classy Underline
Adding The Blurb Modules
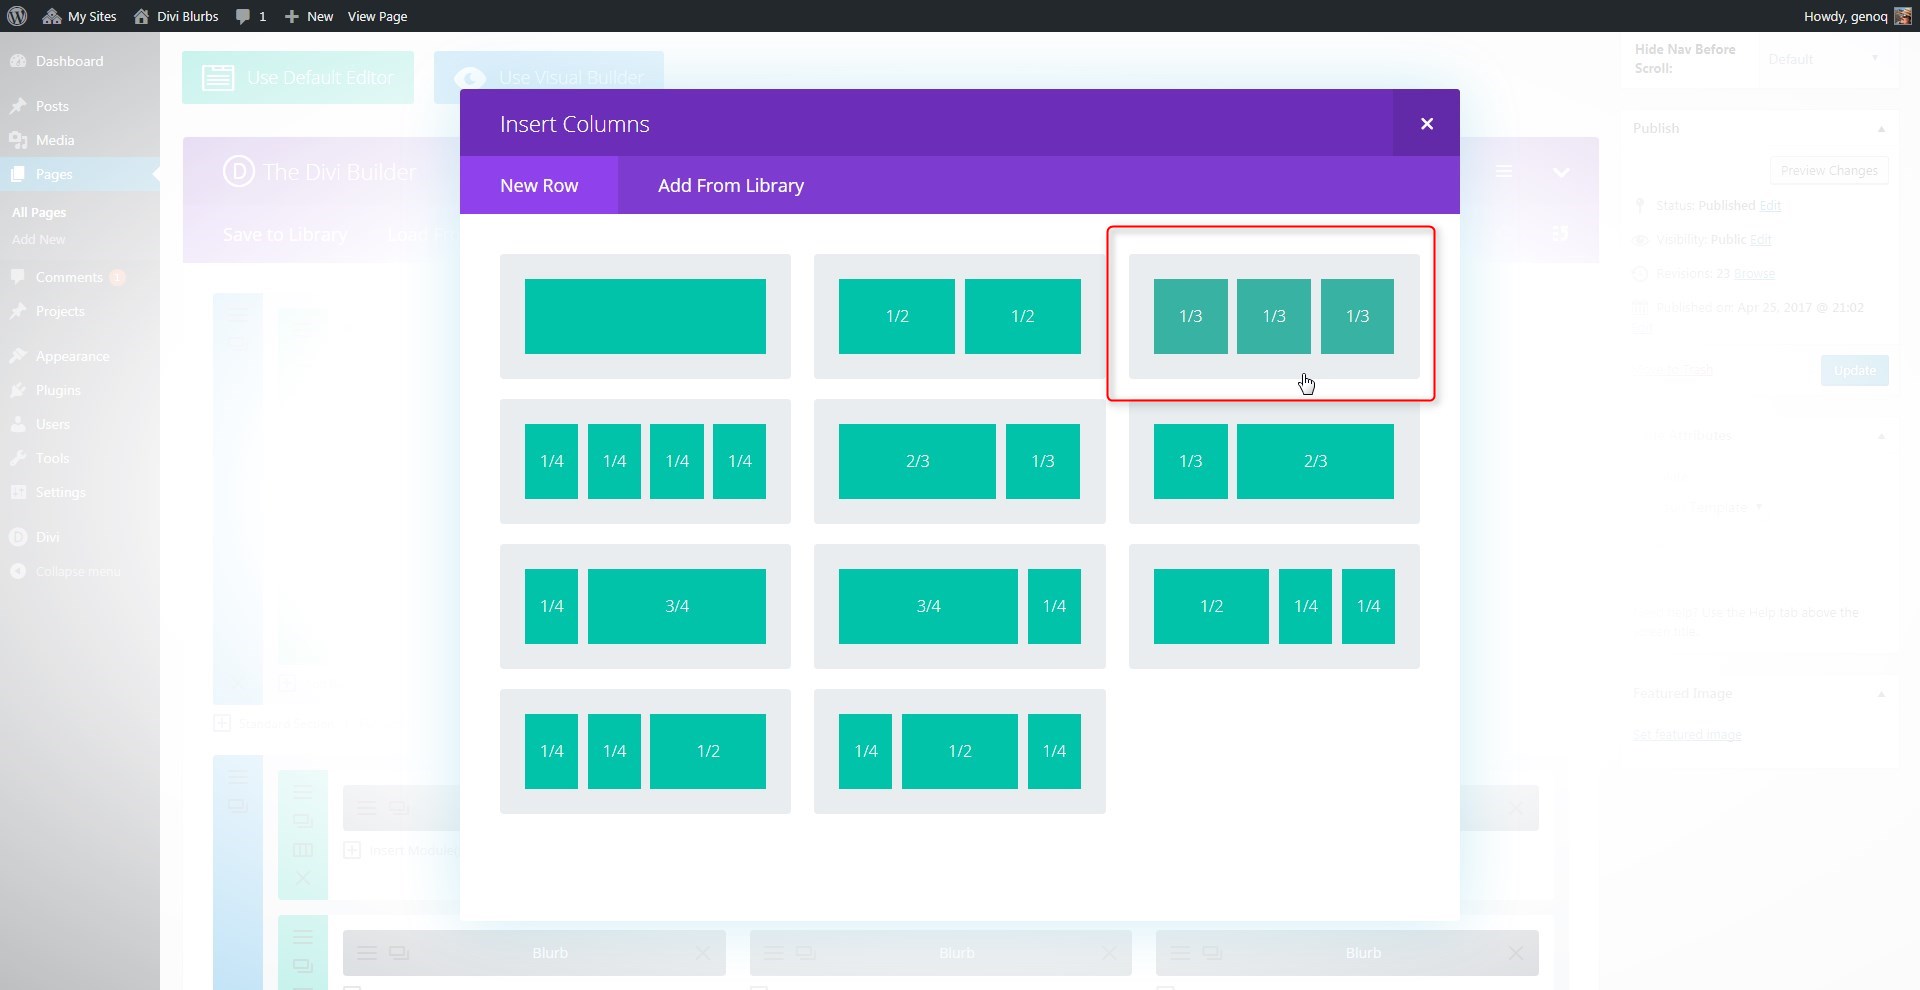
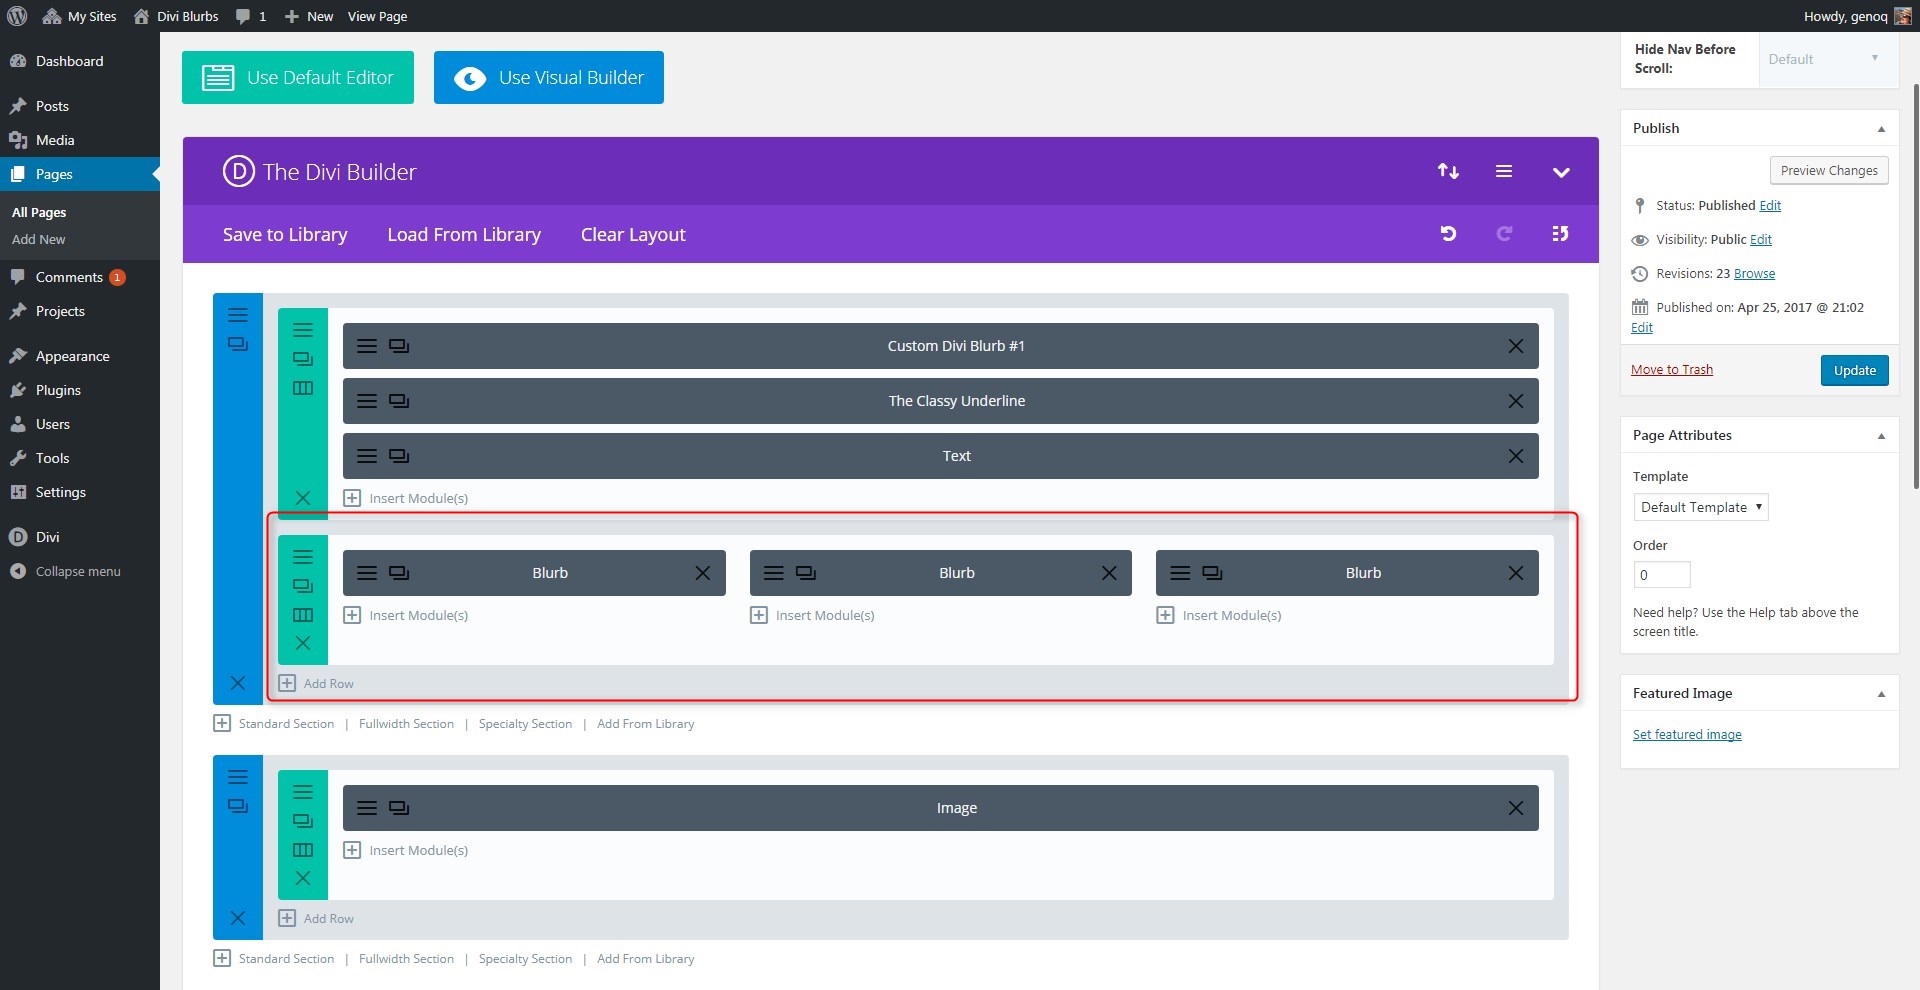
1. Create a row and give it 3 columns.
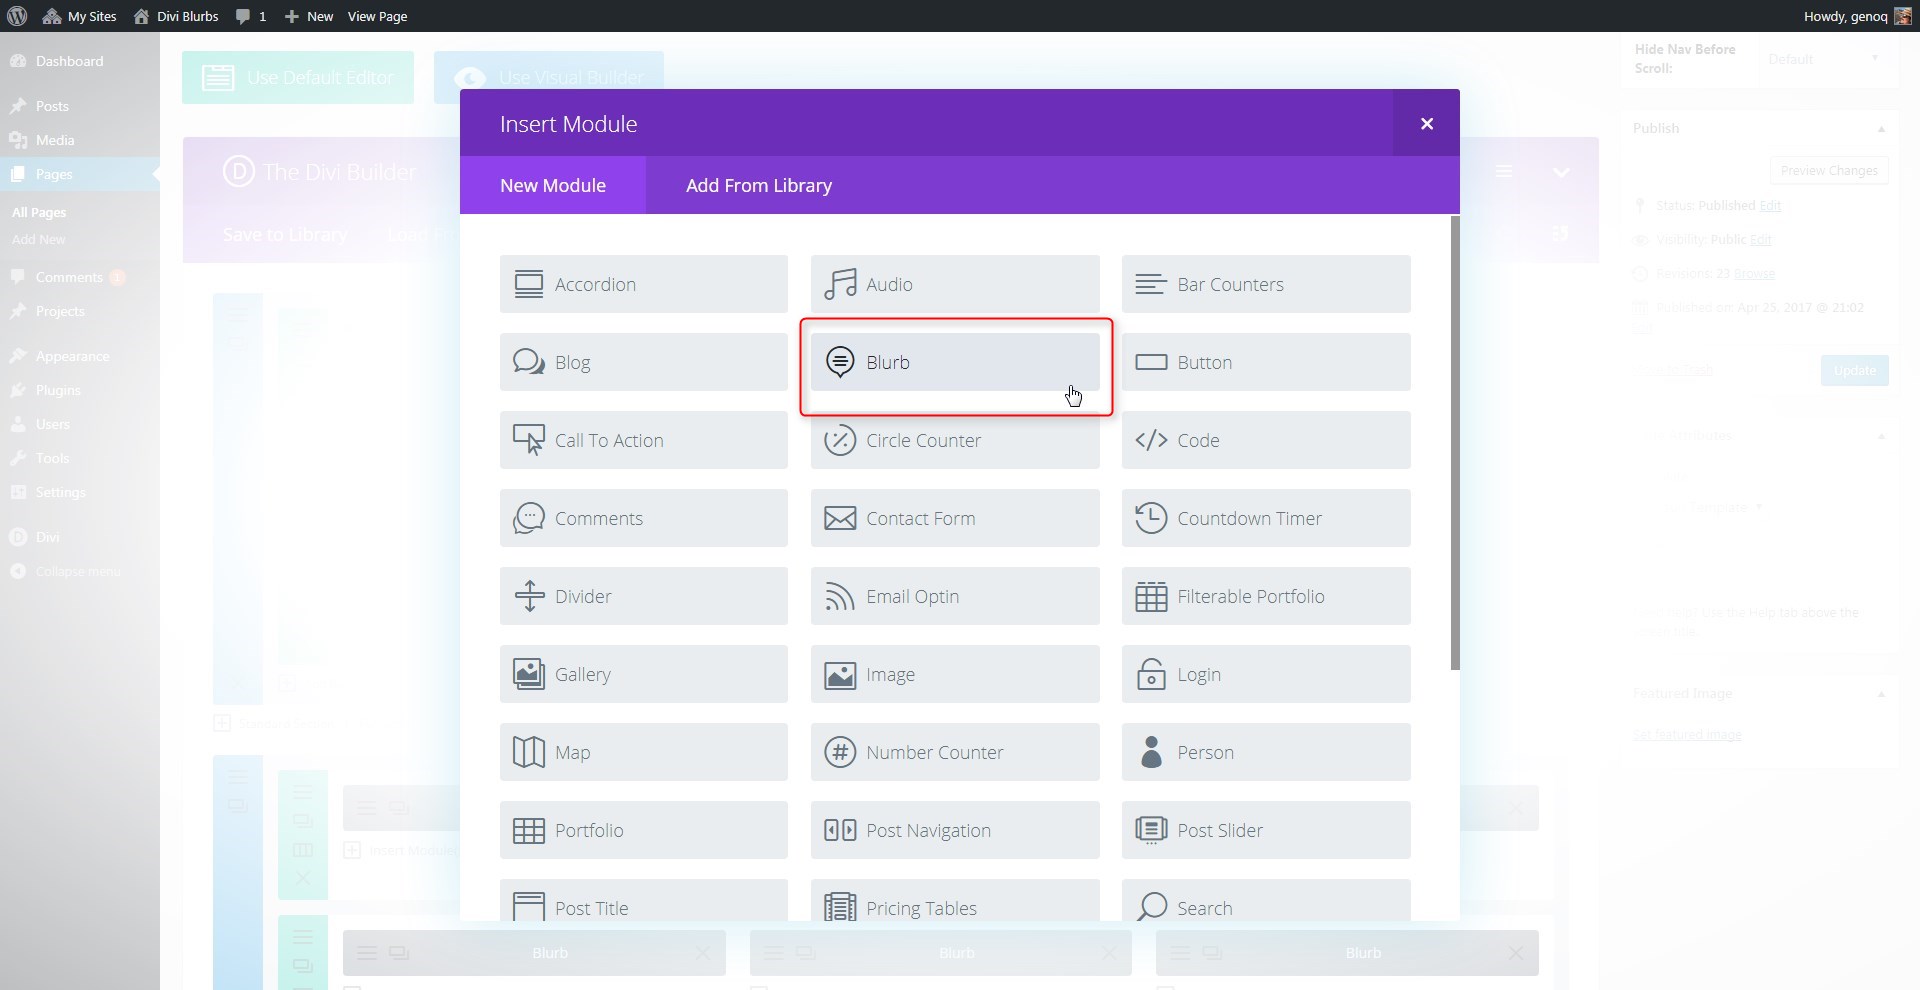
2. Add a Blurb Module to the first column.
3. Under Content: give it a title, text and select an icon.

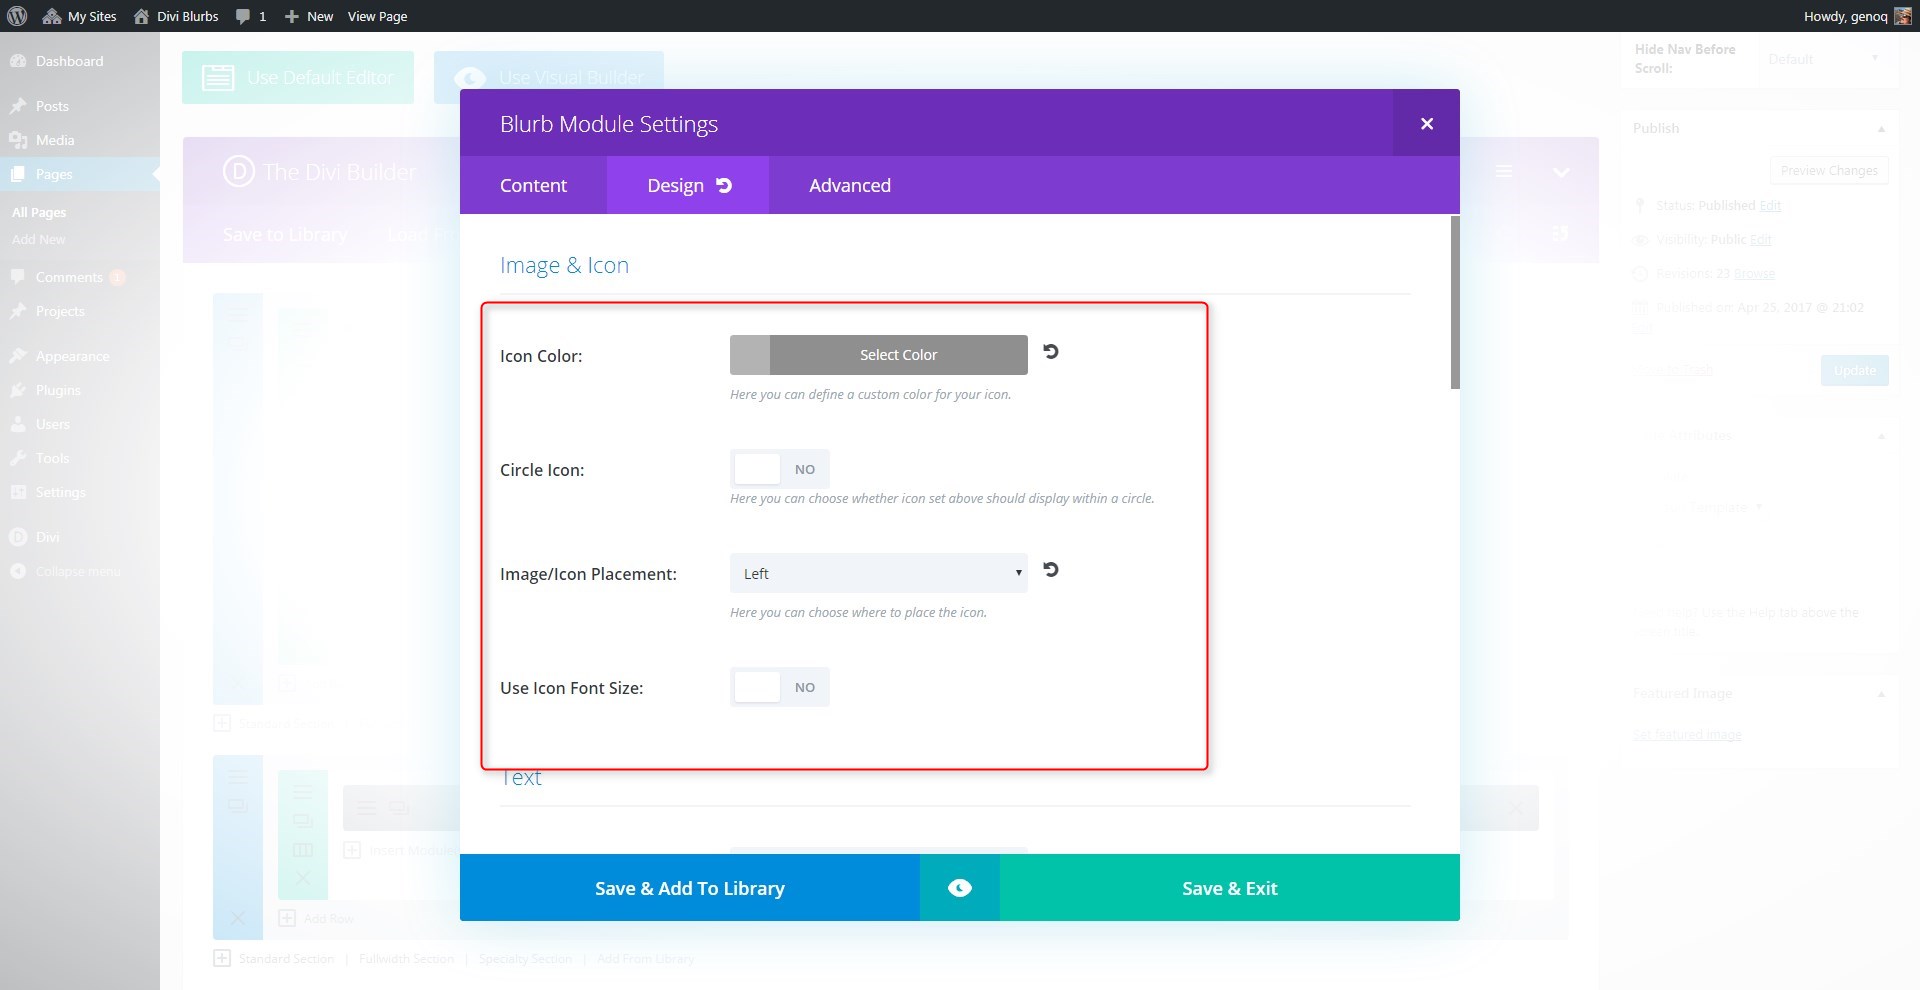
4. In the Design Tab: select an Icon Color and for the Image Placement, select Left.
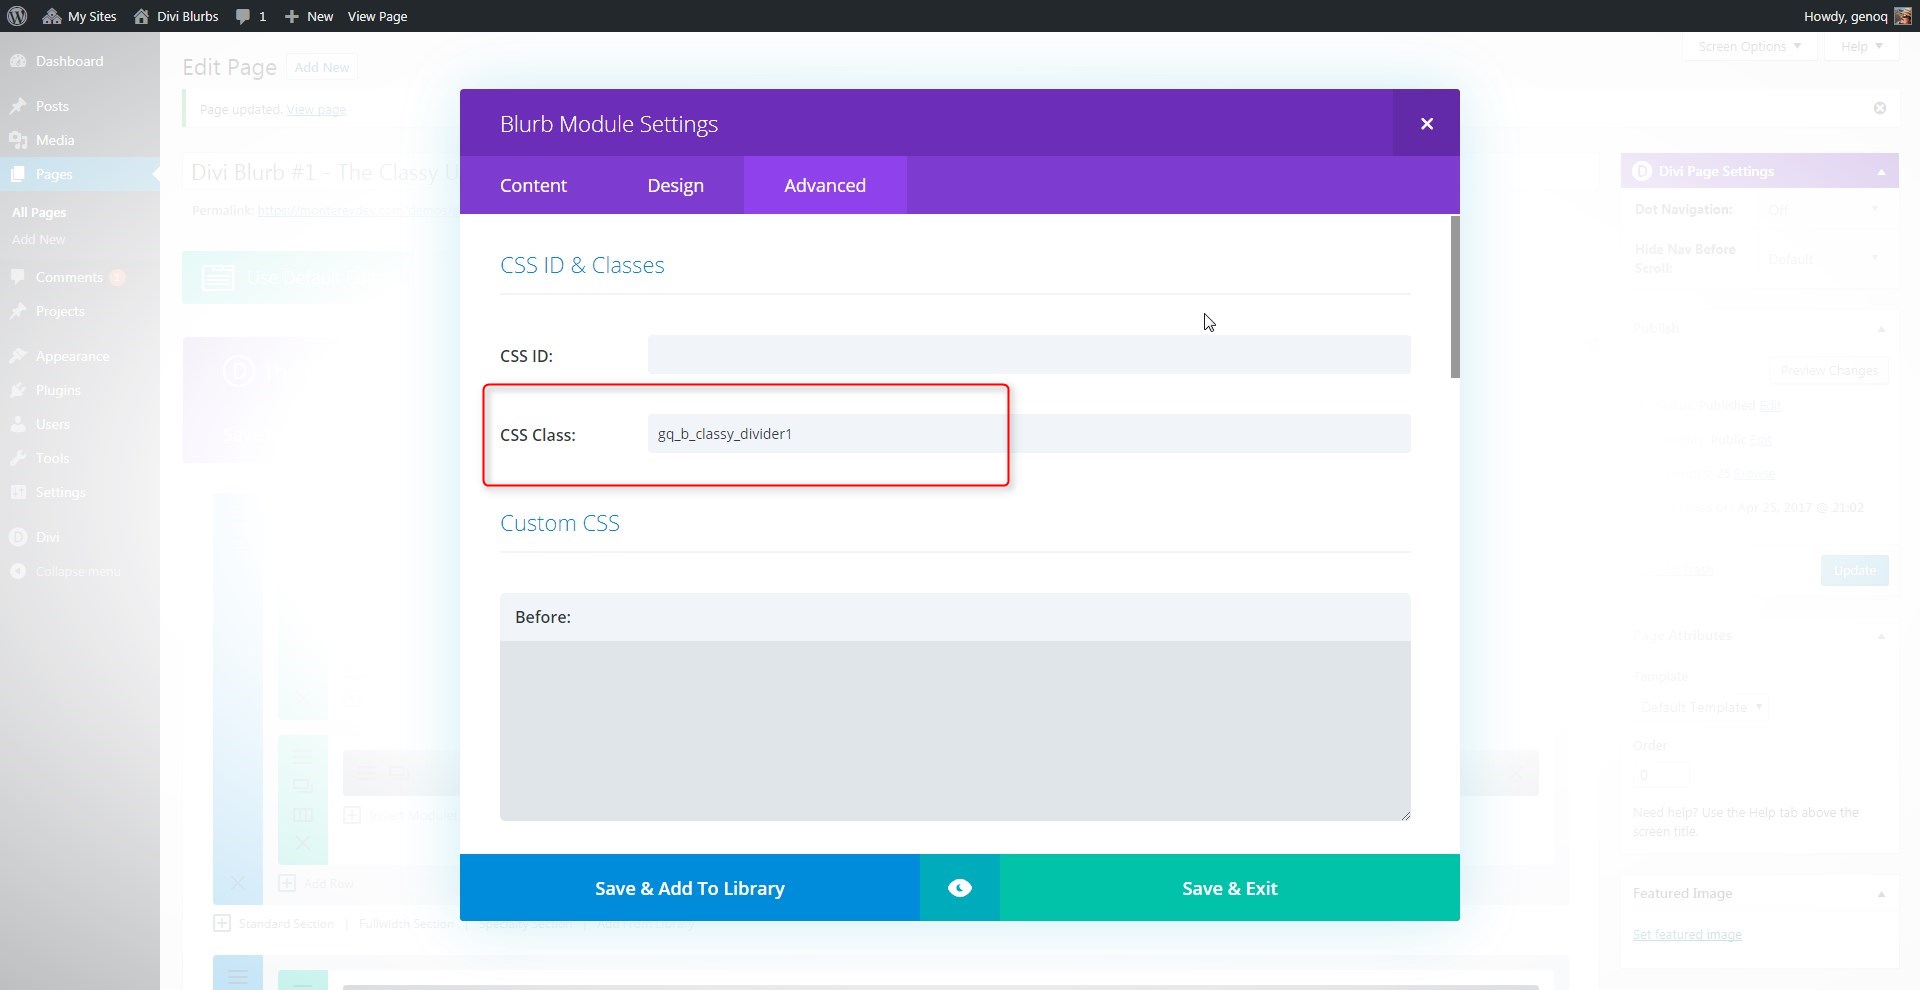
5. In the Advanced Tab: assign the module the following CSS Class: gq_b_classy_divider1
6. Now duplicate the blurb module and move it into the second and third column.
7. Save your page and move on to the magic of adding a little CSS.
Adding The Custom CSS
If you are working with a child theme you can go to Appearance>Editor and open your stylesheet. If not, go to Appearance>Divi Theme Options>Custom CSS (which is located at the bottom of the first tab in Theme Options)
Add this CSS.
/*------------------------------------------------*/
/*---------[GQ BLURB CLASSY UNDERLINE]------------*/
/*------------------------------------------------*/

.gq_b_classy_divider1 h4 {
    font-weight: 800;
    font-size: 20px;
	-webkit-transition: all 0.3s ease-in-out;
	-moz-transition: all 0.3s ease-in-out;
	-ms-transition: all 0.3s ease-in-out;
	-o-transition: all 0.3s ease-in-out;
	transition: all 0.3s ease-in-out;}

.gq_b_classy_divider1 h4:after {
    display: table;
    content: "";
    border-top: 5px solid #37a6f2;
    width: 50px;
    margin: 17px 0px 14px;
	-webkit-transition: all 0.3s ease-in-out;
	-moz-transition: all 0.3s ease-in-out;
	-ms-transition: all 0.3s ease-in-out;
	-o-transition: all 0.3s ease-in-out;
	transition: all 0.3s ease-in-out;}

.gq_b_classy_divider1 .et-pb-icon {
   	-webkit-transition: all 0.3s ease-in-out;
	-moz-transition: all 0.3s ease-in-out;
	-ms-transition: all 0.3s ease-in-out;
	-o-transition: all 0.3s ease-in-out;
	transition: all 0.3s ease-in-out;}

.gq_b_classy_divider1:hover h4 {
    color: #37a6f2;}

.gq_b_classy_divider1:hover h4:after {
    width: 120px;
	border-top: 5px solid #286b98;}

.gq_b_classy_divider1:hover .et-pb-icon {
    color: #286b98!important;}
Making Adjustments
To adjust the titles font weight and size, you can do so here:
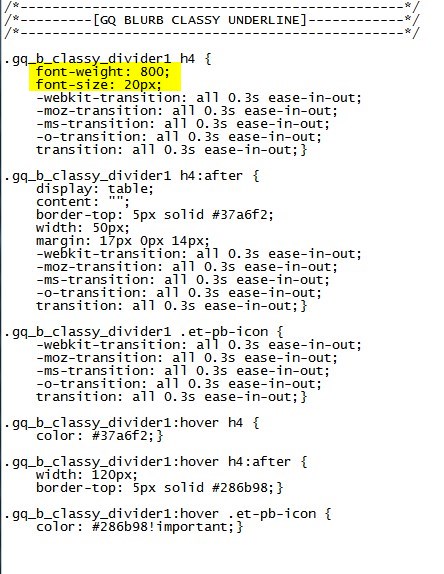
If you want to adjust the color, width, height or margins of the classy underline, you can do so here:

If you want to change the hover status of the icon, title and underline, you can do so here.

And lastly, if you want to speed up or slow down the animation timing on each of these, you can do so here.

And that’s it.
If you used this on one of your projects, please share a link below so we can see how you used it.
Have fun!
Well, that’s all for now. I hope you find this article useful.
![]()


Lovely! Looking great! Thank you!
Love this underline effect – brings life to a blurb, especially if it’s a small amount of text.
Thanks Geno!
Glad you like it. Thanks for letting me know 🙂
Geno – love the tutorial but bad things happening on mobile. The two rows I have this applied on are 3 columns and 2 columns and wont wrap for me. Its a dev site on http://www.designfx.itchyfingersdesign.com/ if you can shed some light.
Scratch that Geno – my bad – thats what happens sitting at a screen for too long … walking away 🙂
LOL. I know the feeling 😉
Congratulations, great tips!
How to do if our title is centered?