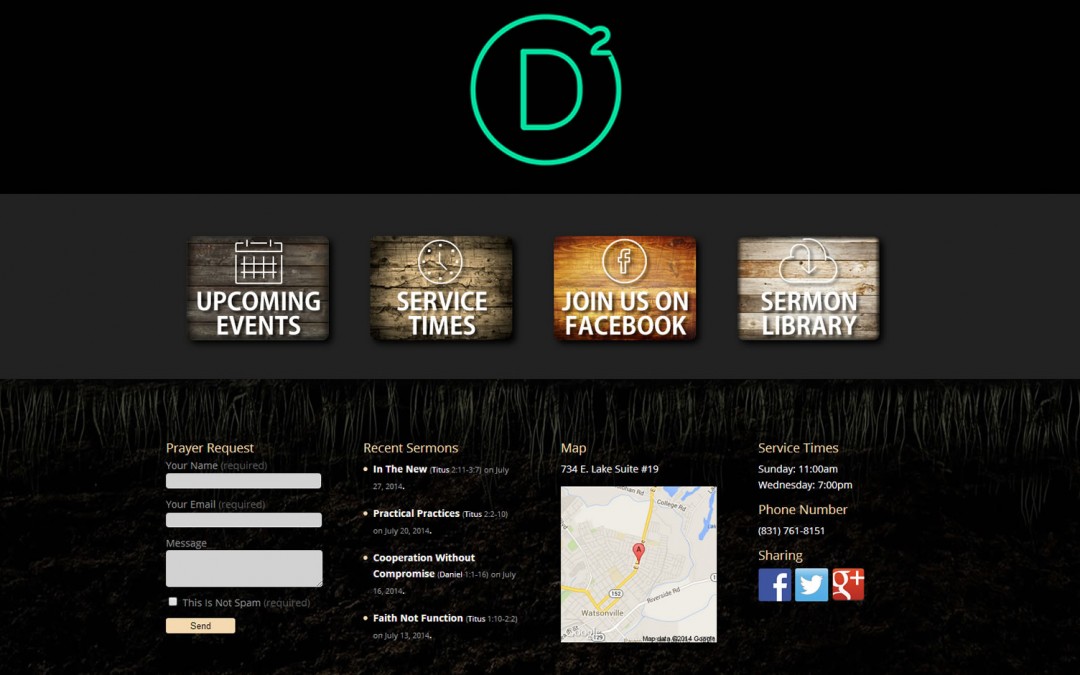
As you can tell, I love working with the versatile new Divi Theme by Elegant Themes. One of my recent projects required me to create a new footer section that I can add widgets to and so I thought I would share what I learned.
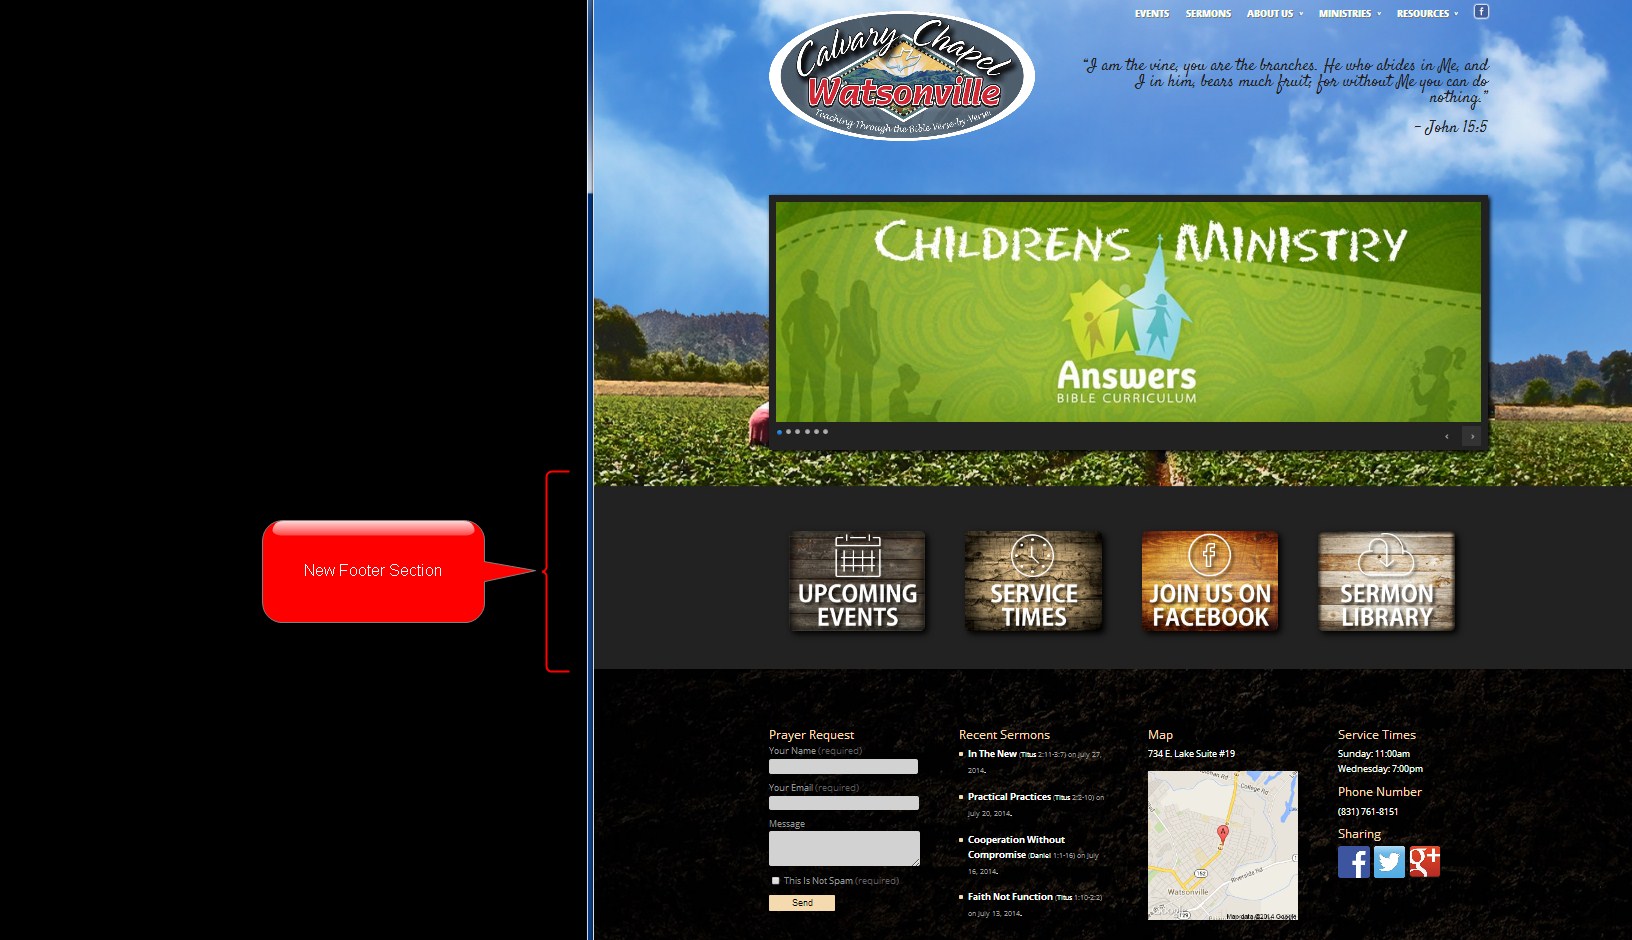
I wanted my new footer section to be above the original footer section and I wanted it to have its own unique background so I had to place it outside of the existing footer section. But I still wanted to keep it contained in the “clearfix” container which basically means, I did not want it aligned all the way to the left of the screen, but aligned with everything else.
To do so, I had to open up my child theme footer.php and find the following code…
if ( ! is_page_template( 'page-template-blank.php' ) ) : ?>
and then I added the following code just below it…
<!-------------------------------->
<!-------- NEW FOOTER SECT-------->
<!-------------------------------->

	<footer id="new-footer">
		<div class="container clearfix">
			<div class="new_footer_section"><?php dynamic_sidebar( 'new_footer_section' ); ?></div>
		</div>
	</footer> <!-- #new-footer -->

<!-------------------------------->
<!-------- NEW FOOTER SECT-------->
<!-------------------------------->
Note: If I wanted to inherit all the other CSS atributes associated with the regular Divi footer, then you place this code just under the “main-footer” footer id and then remove the footer id from the custom code above and just add the content within and with the “<div></div>” tags shown above.
The next step is to create a new sidebar in Appearance -> Widgets -> Create. You will want to name it new_footer_section. You can name it whatever you want but be sure that the name of the sidebar is the same as the name you used for the footer.php code.
Adding the Widgets
To accomplish what I had in mind, I simply needed to add some images that link to other pages. So for this project I used a simple image plug-in called Image Widget. It is a simple image widget that uses the native WordPress media manager to add image widgets to your site.
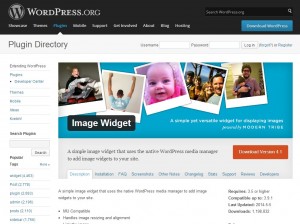
Image Widget
Once I added my four widgets, I just had to use some custom CSS to get the background color and spacing that I wanted. To do so, I opened up my child theme style sheet (style.css) and added this.
	/*New Footer Section*/

		#new-footer {
                 background:#222222;
                 margin-top:-30px
                 }
		.new_footer_section  {
                 overflow:hidden;
                 padding: 40px 0;
                 }
		.new_footer_section .et_pb_widget {
                 float: left;
                 margin: 0px 0px 0px 0px;
                 padding: 10px 30px;
                 }
And then I wanted to add a little something extra. I wanted the corners slightly rounded and I wanted them to get a little bigger when you mouse over them so I added this little fun bit of code as well.
		#new-footer img {
                 border-radius: 9px;
                 -moz-transition: all 0.09s;
                 -webkit-transition: all 0.09s;
                 transition: all 0.09s;
                 -webkit-filter: drop-shadow(5px 5px 5px black);
                 }

                 #new-footer img:hover {
                  -webkit-transform: scale(1.15);
                  -moz-transform: scale(1.1);
                  -o-transform: scale(1.1);
                  -ms-transform: scale(1.1);
                  transform: scale(1.1);
                  }
And lastly, I just needed to tweak the mobile queries so that it adjusted well according to the different mobile devices so I added these special @media snippets on the bottom of my style sheet.
/*------------------------------------------------*/
/*-----------------------[RWD]--------------------*/
/*------------------------------------------------*/

/* (981-1100) Tablet Landscape*/
	@media only screen
	and ( min-width: 981px )
	and ( max-width: 1100px ) {

		/*New Footer Section*/
			.new_footer_section {
                         float: left;
                         margin: 0px 0px 0px 0px;
                         padding: 10px 15px;
                          }
		 }

/* (768-980) Tablet Portrait*/
                @media only screen
                and ( min-width: 768px )
                and ( max-width : 980px) {

		/*New Footer Section*/
			.new_footer_section .et_pb_widget {
                         float: left;
                         margin: 0px 0px 0px 0px;
                         padding: 10px 16px; width:20%!important
                          }
		 }

/* (480-767) Mini Tablets or Larger Galaxy Phones */
                @media only screen and ( max-width: 767px ) {

		/*New Footer Section*/
			.new_footer_section .et_pb_widget {
                         float: left;
                         margin: 0px 0px 0px 0px;
                         padding: 10px 16px;
                         width:40%!important
                         }
		 }

/* (0-479) CELL PHONES (Apple) */
		@media only screen and ( max-width: 479px ) {

		/*New Footer Section*/
			.new_footer_section .et_pb_widget {
                         float: left;
                         margin: 0px 0px 0px 0px;
                         padding: 10px 21px;
                         width:35%!important
                          }

		 }
The CSS in this tutorial is specific to these particular widgets and images. You will have to add more customization if you were adding other widgets such as “Recent Posts” or even “Text” widgets. But my hope is that this gives you an idea of how easy it is to add your own custom footer section in Divi.
Let me know how it works for you. You can also view the example site here
Well that’s all for now. I hope you find this article useful.
![]()


Hi, Geno, I was wondering about the CCWatsonville.com website on mobile. I was just checking out how your extra Divi footer section would look on an iPhone and it’s awesome! My only question is why doesn’t the John 15:5 Bible verse show up on mobile?
Thanks for your post!
Deb
Thanks for bringing this to my attention. We turned it off at one point to see what it would look like without. My friends at CCW thought maybe it was too cluttered on mobile. Turns out I forgot to turn back on for them :-O Its back on thanks to your keen eyes. Thanks 😀
Thanks so much Quiroz for your helpful blog! What is the CSS code to customise the WPCF7 as in your footer?
Glad you like the blog. Thanks for checking it out. I wrote a tutorial for the custom footer form. It should answer all your questions. Check it out here… http://www.eileenlonergan.com/footer-form-caldera-forms
Thanks very much! I thought you used WPCF7. I used the WPCF7 and customized using some of your code but can’t figure out how to put the captcha image and input field aligned. Do you know how to?
My website is: http://9aa.f93.myftpupload.com/
And the CSS code is:
—–
input[type=text], input[type=email], input[type=captchar], input[type=tel], input[type=file] {
height: 50px;
border-radius: 3px;
}
.captchaimg { border-radius: 3px;
}
.captchainput { display: inline-block; max-width:30%;
}
This will align it
.captchaimg {margin-bottom: -7px;}If this is not what you had in mind. Mock up what you would like it to look like and shoot me an email geno@quiroz.co
Hi,
What can I do if my Child Theme doesn’t have the footer.php option?
Then you can transfer over the footer.php from the original Divi folder into your child theme. You can use the File Manager in your cPanel or an ftp program like Filezilla