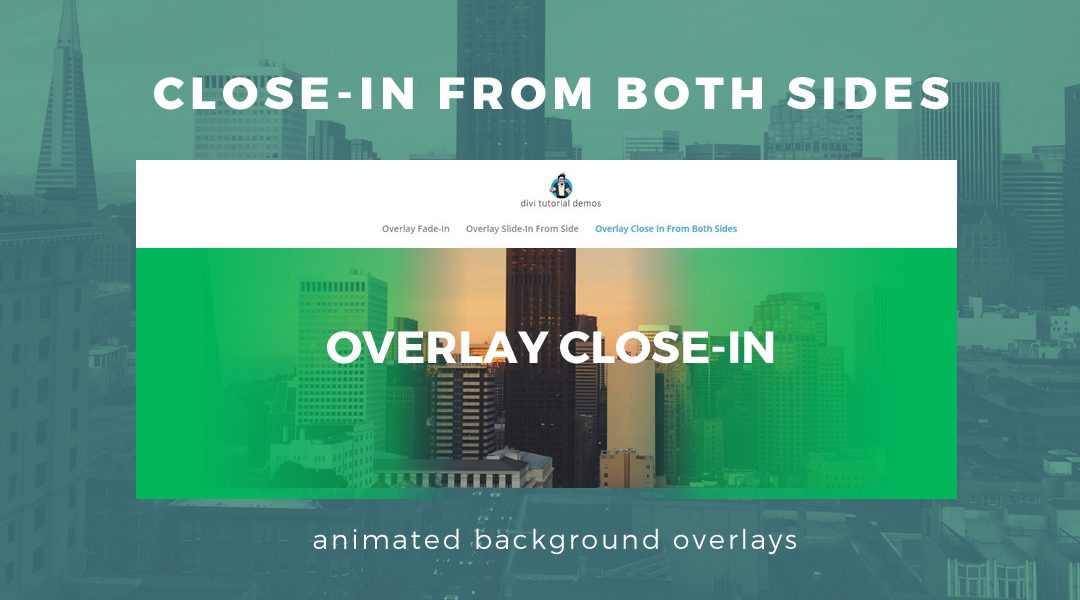
I have been playing around with overlay animations to make certain sections stand out, such as headers and call to action sections. I already put together a couple of tutorials replicating the standard Divi animations using only CSS but on my last post, one of our readers asked for something not currently available in the Divi settings.
His request was to have animations that close-in from both sides. I thought that was a great idea and set out to do this using both the :before and :after pseudo and sure enough it worked like a charm.
In this tutorial, I will show you how we use a little custom CSS to have the gradient background overlay close-in from both sides shortly after the page loads giving the page header section a crisp image, clear text and a tad bit of animation for that extra “pop.”
Let’s Get Started Setting up the standard Divi Section.
Adding the section and custom class
1. Create a single column section.
2. Open up the section settings, go to the “Advanced tab”, and add this custom CSS Class: gq_s_background_close_in
3. In the section settings, go to the Content tab, click on the Background Image tab, then add your background picture. (tip: background images should always be at least 1980px wide for optimum appeal)
4. Go ahead and add your text modules, button modules, or whatever you want in that hero section. In my demo I added three text modules. The first one I use for the preheader, one for the header and a third for the subheader. You can add whatever you want. Be sure to use light text. Even though it won’t be very legible at first, when the gradient fades in, it will be crisp and clear.
5. Save your page and move on to the magic of adding a little CSS.
Adding The Custom CSS
If you are working with a child theme you can go to Appearance>Editor and open your stylesheet. If not, go to Appearance>Divi Theme Options>Custom CSS (which is located at the bottom of the first tab in Theme Options)
Add this CSS.
/*-------------------------------------------------*/
/*-[ANIMATED BACKGROUND CLOSE IN FROM BOTH SIDES ]-*/
/*-------------------------------------------------*/

	.gq_s_background_close_in:before {
		content: "";
		display: block;
		height: 100%;
		position: absolute;
		top: 0;
		right: 0;
		width: 100%;
		background-image: linear-gradient(180deg,rgba(38, 171, 230, 0.65) 0%,rgba(32, 162, 162, 0.80) 100%);
		animation-duration: 800ms;
		animation-delay: 600ms;
		animation-timing-function: ease-in-out;
		transform: translate3d(100%, 0px, 0px);
		opacity: 0;
		-webkit-animation-name: et_pb_slideRight;
		animation-name: et_pb_slideRight;
		-webkit-animation-fill-mode: both !important;
		animation-fill-mode: both !important;}

	.gq_s_background_close_in:after {
		content: "";
		display: block;
		height: 100%;
		position: absolute;
		top: 0;
		right: 0;
		width: 100%;
		background-image: linear-gradient(180deg,rgba(38, 171, 230, 0.65) 0%,rgba(32, 162, 162, 0.80) 100%);
		animation-duration: 800ms;
		animation-delay: 600ms;
		animation-timing-function: ease-in-out;
		transform: translate3d(-100%, 0px, 0px);
		opacity: 0;
		-webkit-animation-name: et_pb_slideRight;
		animation-name: et_pb_slideRight;
		-webkit-animation-fill-mode: both !important;
		animation-fill-mode: both !important;}
DIVI BONUS:
Initiate Animation When The Section Is In Viewport When Scrolling Up Or Down The Page
A fellow Divi user asked “Is there a way to delay the effect until the viewer has scrolled down to the part of the page where the section is? If I choose to put the section halfway down the page, for example.”
And the answer is yes! You just have to add a small jquery script to trigger the animation on both the up and down scroll–whereas by default it only triggers on page load.
1. First you need to grab this code and copy it to your clipboard
<script>
(function($) {
    var $animation_elements = $('.gq_s_background_close_in'),
        $window = $(window);

    function check_if_in_view() {
        var window_height = $window.height(),
            window_top_position = $window.scrollTop(),
            window_bottom_position = (window_top_position + window_height);

        $animation_elements.each(function() {
            var $element = $(this),
                element_height = $element.outerHeight(),
                element_top_position = $element.offset().top,
                element_bottom_position = (element_top_position + element_height);

            //check to see if this element is within viewport
            if ((element_bottom_position >= window_top_position) && (element_top_position <= window_bottom_position)) {
                $element.addClass('gq_s_background_close_in');
            } else {
                $element.removeClass('gq_s_background_close_in');
            }
        });
    }

    $window.on('scroll resize', check_if_in_view);
})(jQuery);
</script>
2. Now go to Divi Theme Options > Integration and paste the code into the section that says: Add code to the < body > (good for tracking codes such as google analytics)
And Thats It!!!
Making Adjustments To The CSS
As with all my tutorials, my goal is not to teach you how to use Divi Settings as much as it is to teach you how to customize your website learning a little CSS along the way. So with that being said, here are a few CSS tips to help you learn a little more about CSS.
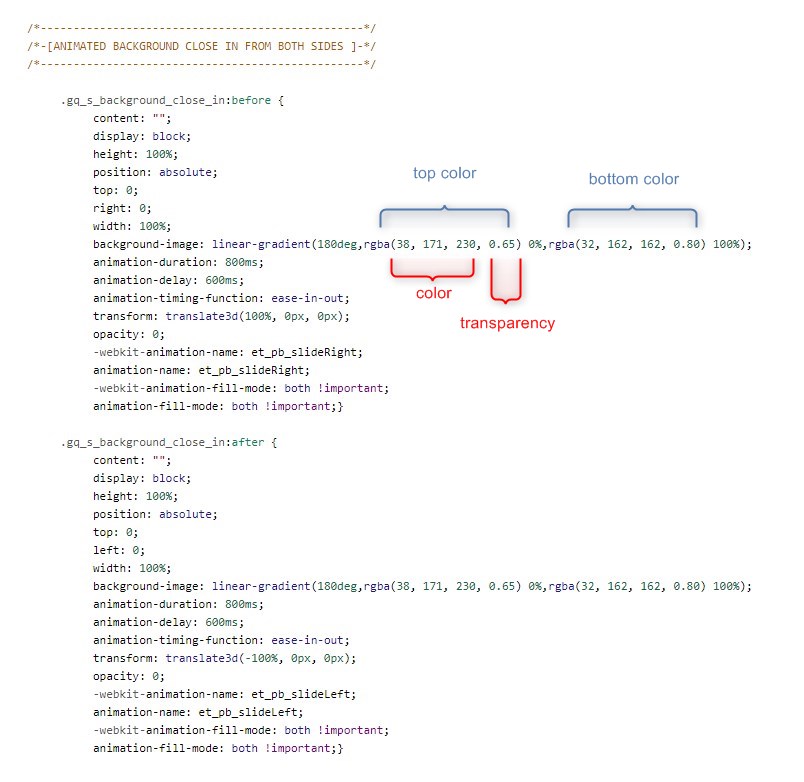
To change the gradient color and transparency, you can do so here. Keep in mind the top class slides in from the right and the second class slides in from the left.
To change the speed of the gradient fade-in animation, you can do so here:
To change the delay before the animation begins, you can do so here:
And that’s it.
If you used this on one of your projects, please share a link below so we can see how you used it.
Have fun!
Well, that’s all for now. I hope you find this article useful.


Hi Geno,
This question should not go here, I know. I follow him a long time ago and on my website I did many things thanks to you and the css. The fact is that I have a problem with my website and it is that the header drop down doesn´t show all the sub-web pages. I can attach capture so that you see it??
Thanks Daniel. If you can share a link, then I might be able to help you see what is going on.