Tired of the same old boring testimonial boxes that come pre-packed with Divi? Here are a few tweaks I came up with today.
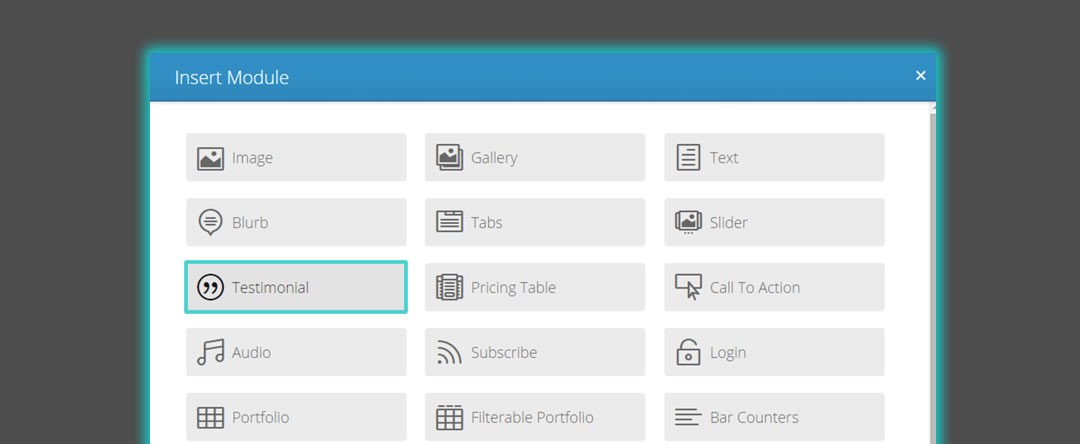
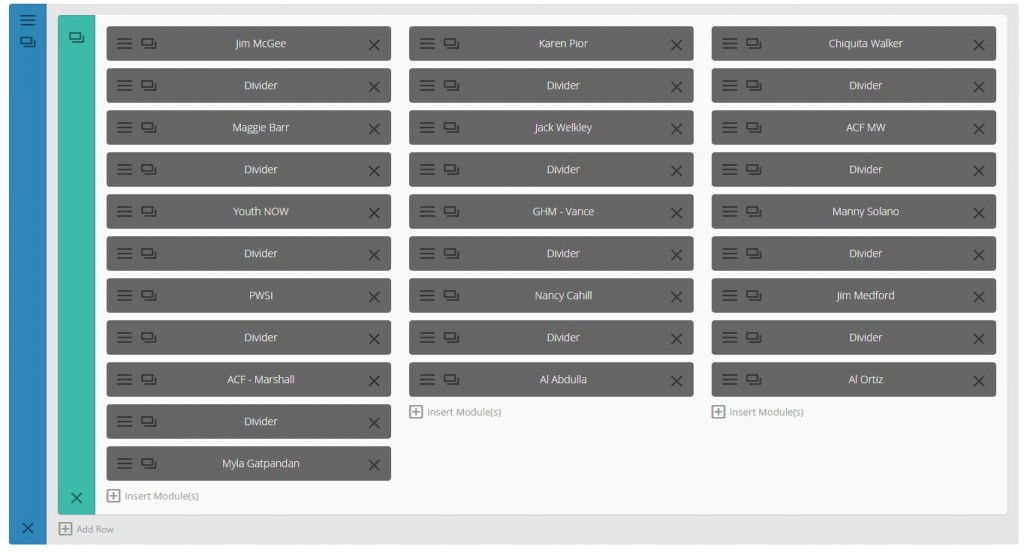
I offer many various services so I wanted to make it easy for someone looking for specific testimonies. So the first thing I did was create the testimonial modules on my testimonial page. If you are not sure how to do this, you can find a great video tutorial on the Divi Module by Elegant Themes right here.
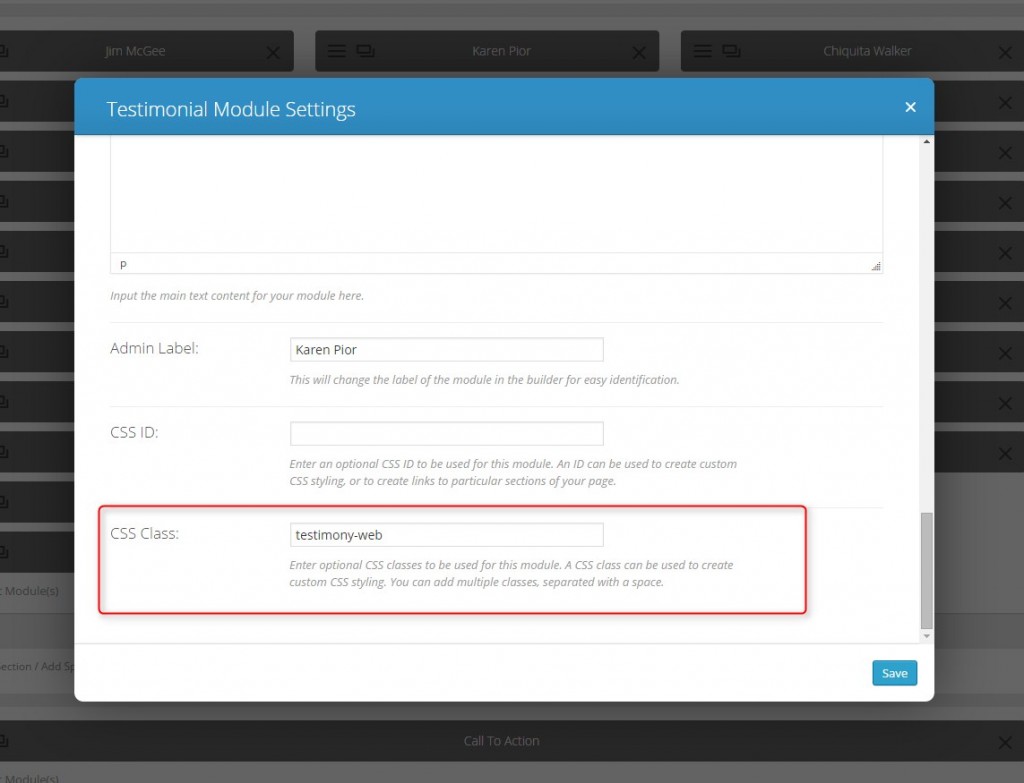
Once this has been completed, I go into each module and give them unique classes based on the different types of categories I want to differentiate. In this case I used the following classes:
testimonial-bookkeeping
testimonial-web
testimonial-business
The next step is to create an image that I can use in the background. I use Fireworks and Photoshop for most of my image editing. In this case I created 3 semi-transparent images with the category names in the upper left hand corner.
Be sure to make the background of the image transparent as you will be adding a background color to your testimonial module via CSS and not the image.
These are the 3 png files I created and upload via the “Media” section on my WordPress admin.
 |
 |
 |
Now for the magic. To bring it all together, just add this CSS code to your ePanel Custom CSS box that comes with Divi or your child theme style sheet as I prefer.
	/*Testimonial Header*/
		.et_pb_testimonial_description {padding:10px;}
		.testimony-accounting {
			background-color:#e9f0e5;
			padding:10px;
			border-radius:20px;
			background-image: url("https://quiroz.co/wp-content/uploads/2014/10/testimonial-bookkeeping.png");
			background-repeat: no-repeat; }
		.testimony-web {
			background-color:#EBEFFF;
			padding:10px;
			border-radius:20px;
			background-image: url("https://quiroz.co/wp-content/uploads/2014/10/testimonial-web-design.png");
			background-repeat: no-repeat;}
		.testimony-business {
			background-color:#e9d8ed;
			padding:10px;
			border-radius:20px;
			background-image: url("https://quiroz.co/wp-content/uploads/2014/10/testimonial-business.png");
			background-repeat: no-repeat; }
You will need to replace the background image url’s with your specific background image url. Feel free to download and use my 3 background images freely on your own website if you like.
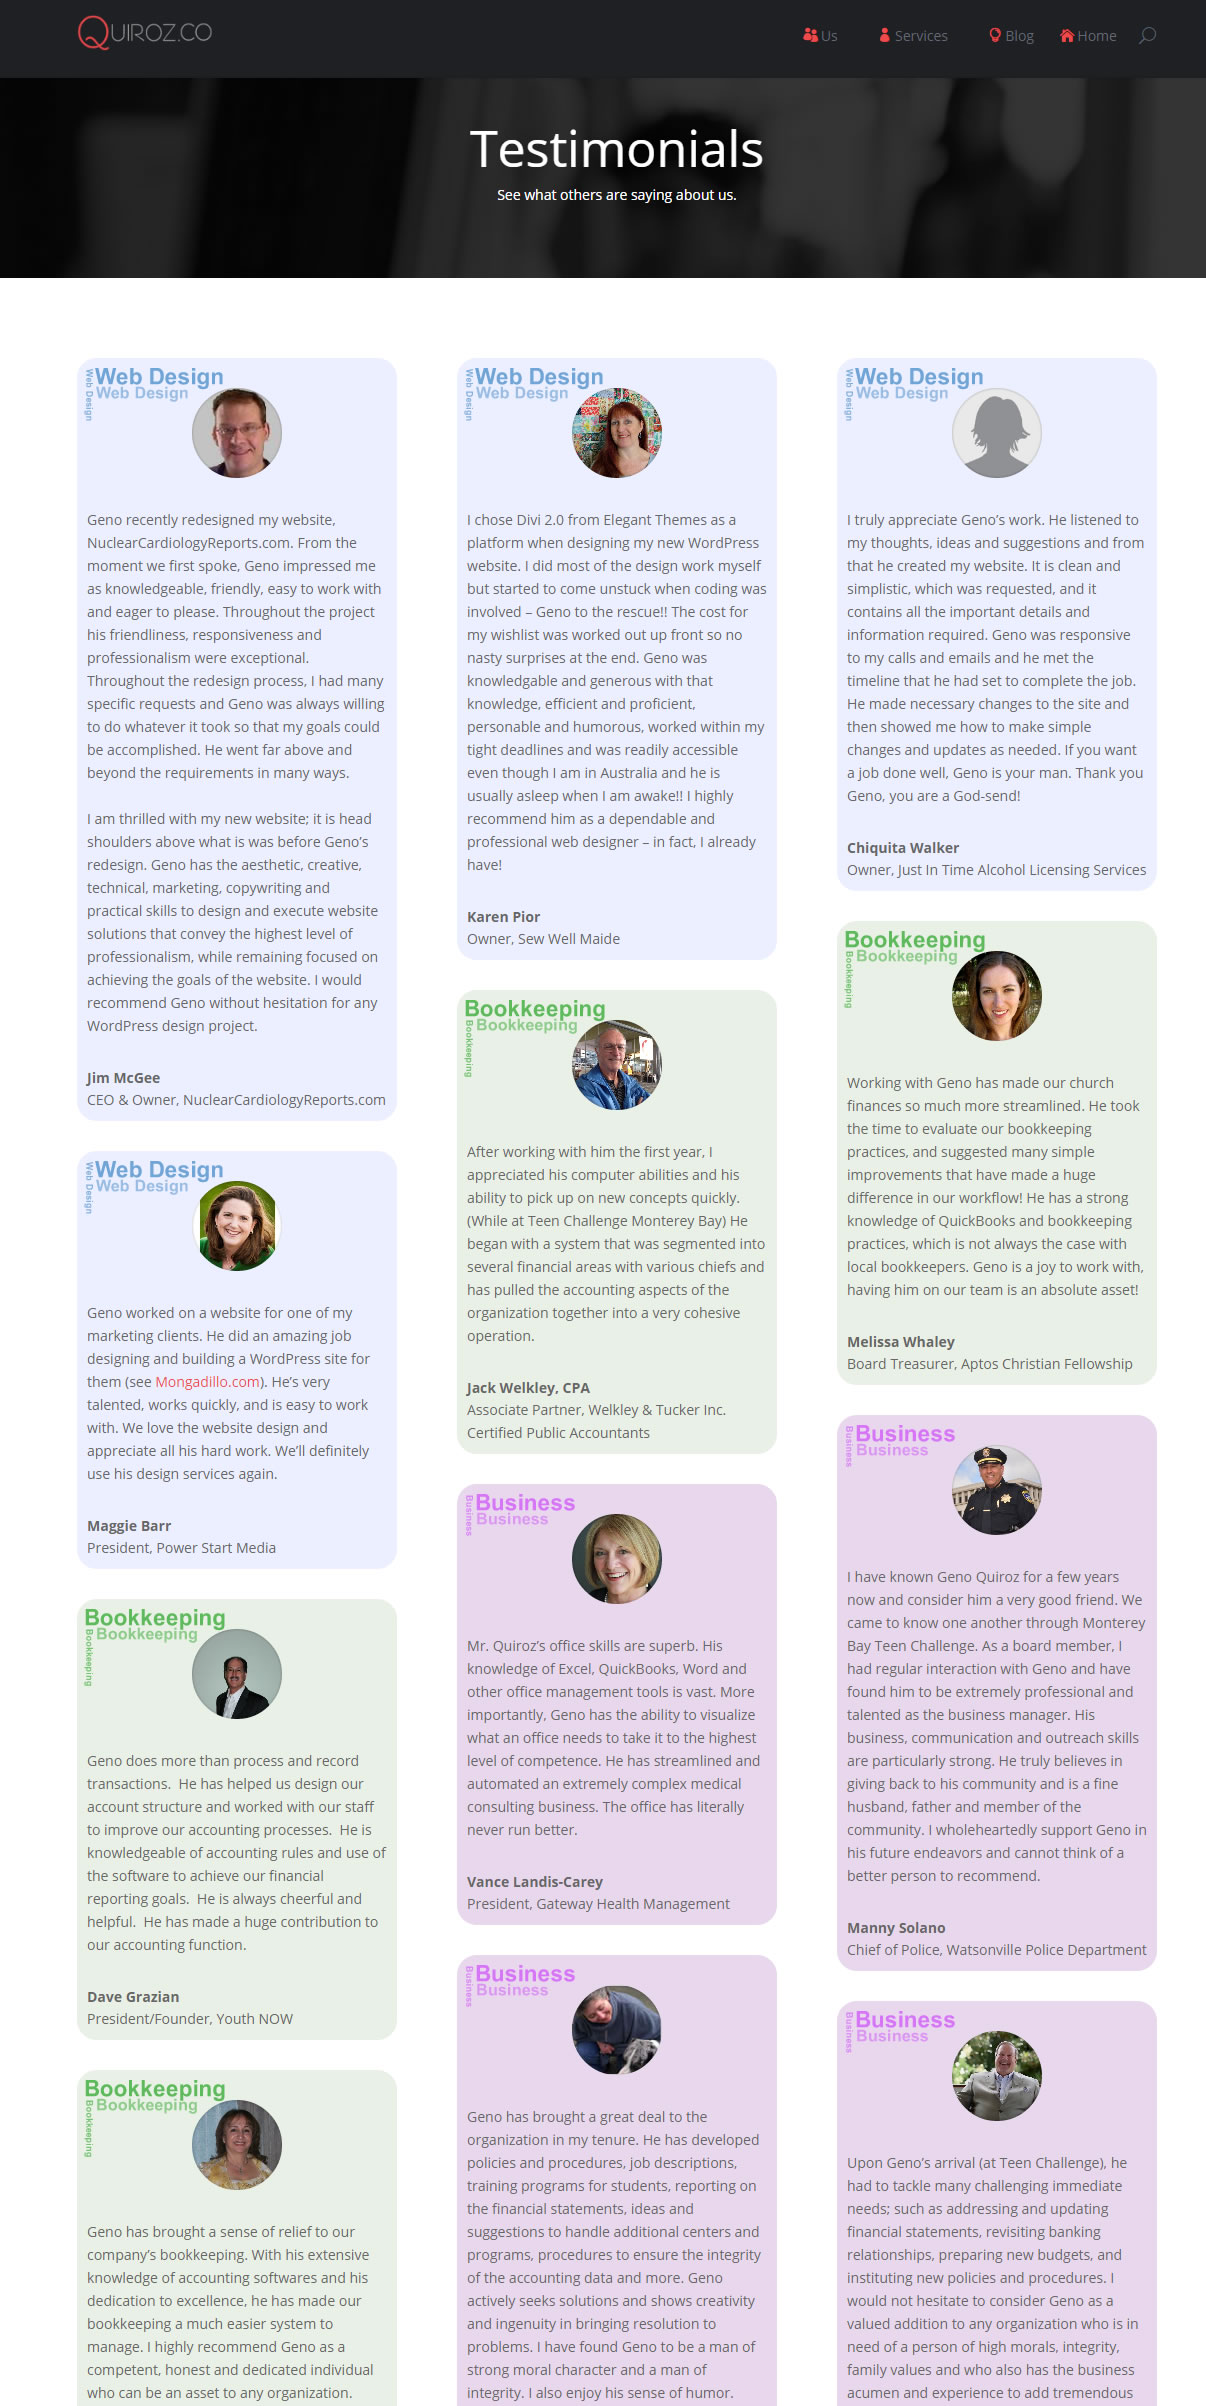
The end result should look just like this.
Well that’s all for now. I hope you find this article useful.






Very helpful! What a great tip, thank you for sharing.
Thanks Eileen 🙂
You rock Geno! Thanks for sharing!
Thanks Julie. Hope you can use it 🙂
MANY thanks! You are so clever and generous.
Thanks Jenny. So are you. It’s so much fun being able to share ideas and tricks with other amazing designers/artists like you. 🙂
Awesome Geno.. nice tips and tricks.. cool.. Just one question / recommendation.. (not entirely related to Testimonial modules though).. How about placing all your static images ( I mean those images which are less likely to be replaced/changed) in a sub-domain, say img.quiroz.co? This will help you get a boost to your site performance as well, since parallel browser downloading will be applicable then..? Just a thought though..
Cool. Thanks for the tip Kalyan!
Geno, useful information. Thanks for sharing it.
Thanks Gerard 🙂
Thanks for the great Information!
Is this also can be used for the subscribe module? …means if we can put any image as background instead of just color?
I wondering how this would be possible?
Very appreciated for any tips.
Sure. You would just add something like this using your own image url
.et_pb_newsletter {background-image: url(https://quiroz.co/2015/wp-content/uploads/2014/11/bottom-of-posts-optin-1.jpg);}Hi Geno,
Thanks for the info you provided…I did put the code and changed with my own image but no result…should I create a css class from subscribe module to get this to work.
I just put the code into css child theme .should I take any other steps?
Yes you can try adding a unique css class and replace .et_pb_newsletter with your own class. And/or try using !important just before the ;
.et_pb_newsletter {background-image: url(https://quiroz.co/2015/wp-content/uploads/2014/11/bottom-of-posts-optin-1.jpg)!important;}Geno – You are truly a blessing to many and I so appreciate and applaud your generous heart.
Thank You <
Geno – man, I love what you do. You also look like a cool guy that would just be cool to just chill with and kick back with.
You take an amazing theme and figure out how to make it more amazinger. Thanks! However, on this Testimonial Mod, all of my text (left aligned) is bumping right up the left side of the color box it’s contained in. Any thoughts on how to move it off of the edge like yours are showing? Thanks.
Thanks Tommy. Send a link to your page so that I can take a look when you get a chance.
Hi Geno,
Thanks for the tips. Always love to see what new things you are up to. Possible you could give me a quick hand? I’m trying to figure out where to input the css code you provide. Is it in the css template within the testimonial module itself??
Thanks in advance for your help
If you are not using a child theme, you can place the css in the Divi Theme Options CSS Panel. Here is a screen shot http://screencast.com/t/skZcDkMr3
This is a great idea for the testimonials! Using Divi 2.5.5 and had the text along the right edge overflow just a smidgen. Fixed using the following. My added code is preceded by // on each line of altered code.
//Added styling for the quote icon, if anyone wants it
.et_pb_testimonial:before {
background-image:none !important;
background-color: inherit !important;}
//Added styling to correct overflow issue
.et_pb_testimonial_description_inner {padding:10px; width:100% !important;}
Screen shot here of the effect. https://www.dropbox.com/s/joxkdz7dz72b08x/shot-20151105-1967-1uliwm6.jpeg?dl=0
Don’t know wether to keep the quotes or not. Comments?
Awesome. Thanks for sharing Travis.