Have you ever wanted to customize your copyright line or add a new row underneath the copyright line in the Divi Theme by Elegant Themes. I love that it looks great right out of the box but I like to experiment with different looks. So this is what I wanted to achieve on this project:
- Center the copyright info
- Automate the copyright dates so that I dont have to update it manually each year
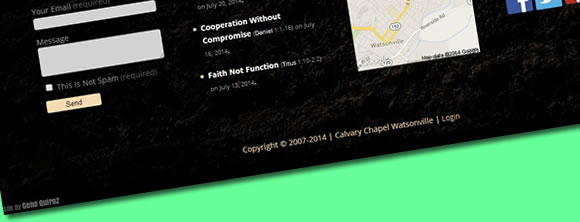
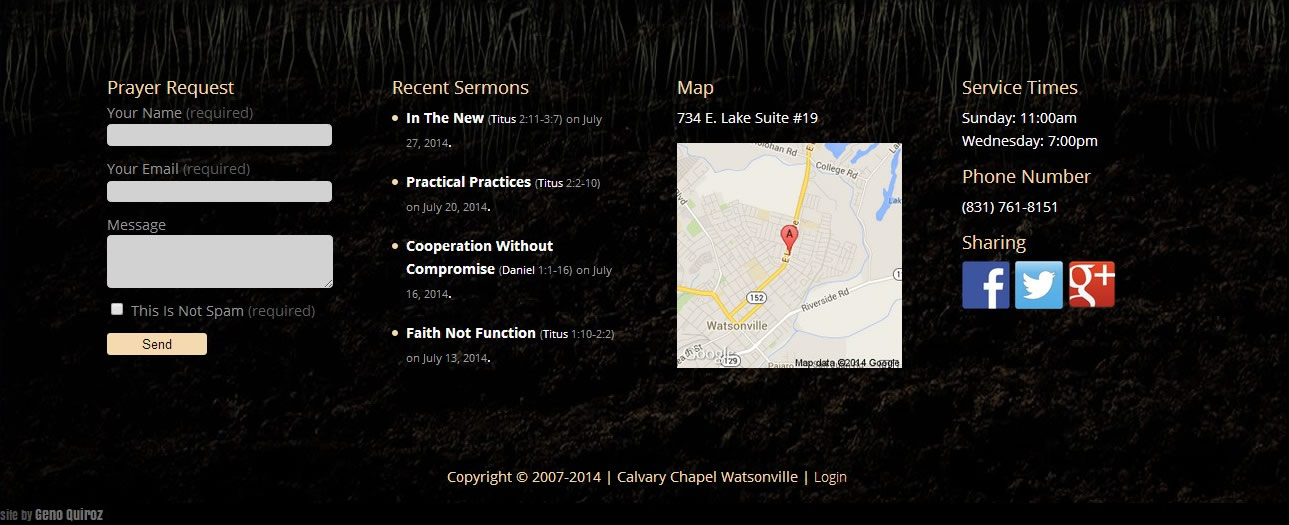
- Add a second row where I could add my “Site By Geno Quiroz”
Here is the end result…
So the first step was to open my footer.php file and make some changes to the original copyright line code. So open it up and look for this…
<p id="footer-info"><?php printf( __( 'Designed by %1$s | Powered by %2$s', 'Divi' ), '<a href="http://www.elegantthemes.com" title="Premium WordPress Themes">Elegant Themes</a>', '<a href="http://www.wordpress.org">WordPress</a>' ); ?></p>
And then replace it with this…
<!-------------------------------->
<!-------- CUSTOM TAGLINE -------->
<!-------------------------------->
<p id="footer-info">Copyright © 2007-<?php echo date('Y'); ?> | Calvary Chapel Watsonville | <a href="http://ccwatsonville.com/wp2014/wp-login.php">Login</a></p>
<!-------------------------------->
<!-------- CUSTOM TAGLINE -------->
<!-------------------------------->
So what did we just add? Let me break this code down for you. This section below is the code required to automate the current year. You just need to type in the fixed year.
Copyright © 2007-<?php echo date('Y'); ?>
This next bit is just the text I want to appear after the copyright date. Note the link to the log-in page to make it easier for the client to get in and make updates.
| Calvary Chapel Watsonville | <a href="http://ccwatsonville.com/wp2014/wp-login.php">Login</a>
Now since we are still in the footer.php file, lets go ahead and add the new tagline row. Just below this code we just inserted, you will find the following two lines…
</div>	<!-- .container -->
</div>
So just below that, insert this following piece of code…
<!-------------------------------->
<!-------- CUSTOM TAGLINE -------->
<!-------------------------------->
	<div class="tagline">Site by <a href="https://quiroz.co" target="_blank">Geno Quiroz</a>
<!-------------------------------->
<!-------- CUSTOM TAGLINE -------->
<!-------------------------------->
Great. Now you have just made all the necessary changes to the php file. Good job. Now its time to style it. So open your child theme style.css file. Lets start with the original bottom-footer section with the clients information. Add this css to address the background color, text color, center alignment, font weight and the mouse over color.
/*Bottom Footer Section*/
	#footer-bottom {background-color: rgba(0, 0, 0, 0.3);}
	#footer-info {color:#f6daaf;
                      float: center;
                      text-align:center;}
	#footer-info a {color: #f6daaf;
                       font-weight:300;}
And now for the tagline. You will note I am using a Google Font-Family on this particular project. So if you don’t have a call out to grab that font already placed elsewhere on your style sheet, then you will have to do so or it will revert to the default font.
/*Custom Tagline Section*/
	.tagline {display: block;
                  overflow: hidden;
                  text-align: left;
                  background:#000;
                  color:#4e4e4e;
                  font-family: 'Anton', cursive;
                  font-size:12px;
                  font-weight:300;
                  padding:0px 0px;}
	.tagline a {color: #6f6f6f;
                   font-size:14px;
                   font-weight:300; }
I wanted my tagline to align to the left on this project. Sort of out of the way and inconspicuous. Plus I just wanted to do something different 🙂 But you can change the css “text-align” to center if you wish.
And so that’s it. Now on this project, we did not have a need for the standard Divi social icons because I used another social plug-in the main footer. If you wanted to keep the default Divi social icons in the footer, with a little more CSS customization, you could center them as well. You can see how I did that on another blog “Adding Social Icons in Divi 2.0“
Leave a comment and let me know how it works for you. You can also view the example site here
Well that’s all for now. I hope you find this article useful.
![]()


Hi Geno, This was very helpful! Thank You!
However, I found that “center” is an invalid property value for “float”. It did work with “none” as the property value.
Thanks Anthony. Appreciate the input!
Thank you, I was racking my brain on that one. Sometimes the simplest solutions…
Thanks, Very appreciated as your changes are much easier to use than CSS Hero. I like the login feature, also in the footer. Very nice place to put it and be out of the way.
how do i remove the entire footer?
Here you go Drew
#main-footer {display: none;}Thank you so much for this! Exactly what I was looking for.
Very nice, Thanks allot
This is very helpful. What’s the process to do it for a child theme so I don’t lose changes when Divi updates?
How would I add the PayPal logo (with all the credit card images) to the footer above the bottom bar? See mock up in link below: http://screencast.com/t/aB12nxZ8
You can do that using the Theme Customizer and a Widget in the Footer. Here is a link from Elegant Themes that describes how to utilize those features: http://www.elegantthemes.com/blog/resources/exploring-divi-2-4-all-new-footer-layouts-and-design-settings
I tried doing that but there were a couple problems. First, the widget is huge and I couldn’t figure out how to resize it. Second, I couldn’t get the PayPal logo to move to the right side of the widget. So I’ve switched to a Full Width Menu module. The problem with this is I can’t figure out how to add the PayPal logo. I tried adding the source code for it to the Custom CSS tab on the module but couldn’t get it to work. I might have had it in the wrong box or done something else wrong. Any suggestions? I’d really prefer to use the module since it has the menu in a horizontal list. Thanks!
Hey Deborah! Yeah, adding source code to the CSS tab will not work. For that you need to use the code module.
Hi, the original copyright code DOES NOT appear in my footer.php. How can i replace it if it’s not there? I copied the footer.php directly from Divi into my child theme. Thanks.
Hello! Things have changed since this tutorial originally posted. You no longer need to edit the footer.php to modify the copyright line. You can do it in the Customizer. From WP Admin, click Appearance -> Customize -> Footer -> Bottom Bar. There is a field at the bottom left to Edit Footer Credits.
Thanks, that’s what i thought.