
We create a number of custom menu hover effects for many of our clients and child themes so I decided it is time to get some of those tutorials into your hands.
In this tutorial I am going to show you how you can make Divi Menu Top & Bottom Borders that expand and reveal like chopstix; closed at one end then slowly opening up.
*Note: This customization will not work correctly if you have drop down sub-menus. That will require additional modifications not yet available on this tutorial.
Let’s Get Started Making The Expanding Chopstix Borders
Adding The Custom CSS
If you are working with a child theme you can go to Appearance>Editor and open your stylesheet. If not, go to Appearance>Divi Theme Options>Custom CSS (which is located at the bottom of the first tab in Theme Options)
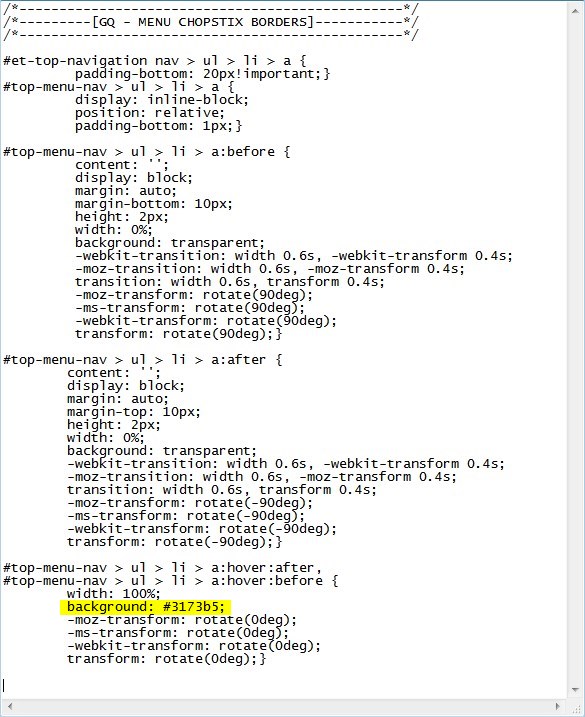
Add this CSS.
/*------------------------------------------------*/
/*---------[GQ - MENU CHOPSTIX BORDERS]-----------*/
/*------------------------------------------------*/
#et-top-navigation nav > ul > li > a {
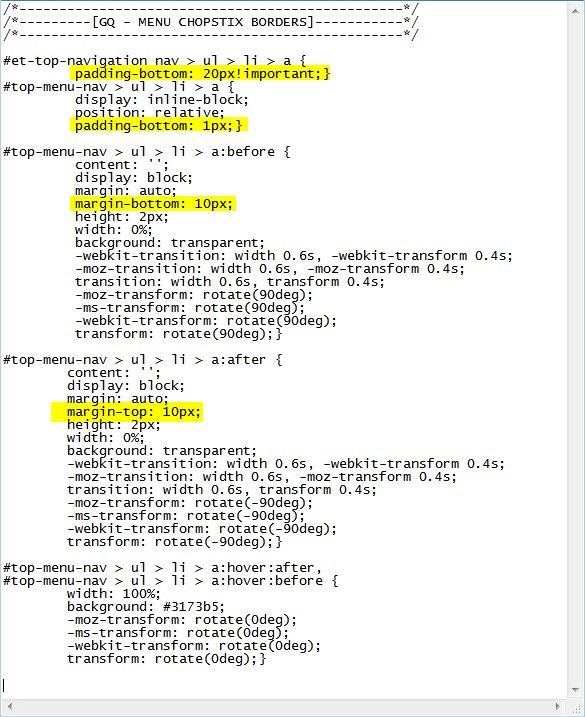
padding-bottom: 20px!important;}
#top-menu-nav > ul > li > a {
display: inline-block;
position: relative;
padding-bottom: 1px;}
#top-menu-nav > ul > li > a:before {
content: '';
display: block;
margin: auto;
margin-bottom: 10px;
height: 2px;
width: 0%;
background: transparent;
-webkit-transition: width 0.6s, -webkit-transform 0.4s;
-moz-transition: width 0.6s, -moz-transform 0.4s;
transition: width 0.6s, transform 0.4s;
-moz-transform: rotate(90deg);
-ms-transform: rotate(90deg);
-webkit-transform: rotate(90deg);
transform: rotate(90deg);}
#top-menu-nav > ul > li > a:after {
content: '';
display: block;
margin: auto;
margin-top: 10px;
height: 2px;
width: 0%;
background: transparent;
-webkit-transition: width 0.6s, -webkit-transform 0.4s;
-moz-transition: width 0.6s, -moz-transform 0.4s;
transition: width 0.6s, transform 0.4s;
-moz-transform: rotate(-90deg);
-ms-transform: rotate(-90deg);
-webkit-transform: rotate(-90deg);
transform: rotate(-90deg);}
#top-menu-nav > ul > li > a:hover:after,
#top-menu-nav > ul > li > a:hover:before {
width: 100%;
background: #3173b5;
-moz-transform: rotate(0deg);
-ms-transform: rotate(0deg);
-webkit-transform: rotate(0deg);
transform: rotate(0deg);}
Making Adjustments
Now because there are already so many menu padding options available in the Theme Customizer, there is a good chance you may have to adjust the bottom padding of the main buttons. You can change that here.
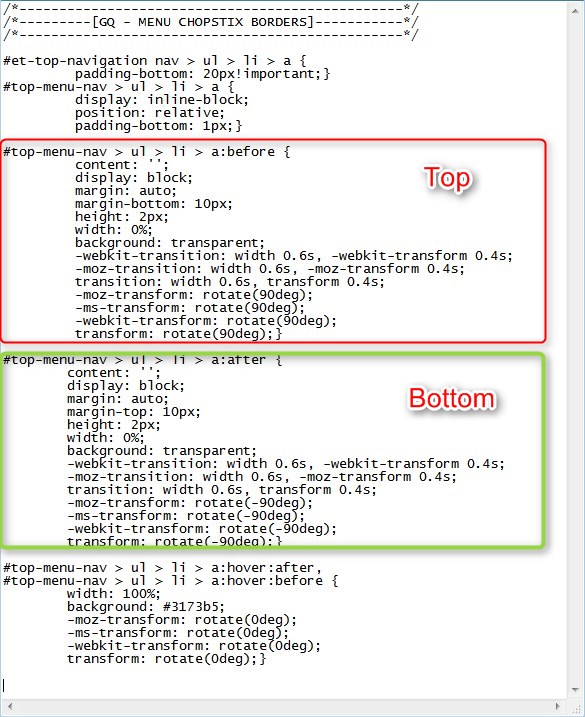
The following rules change the top border and bottom border
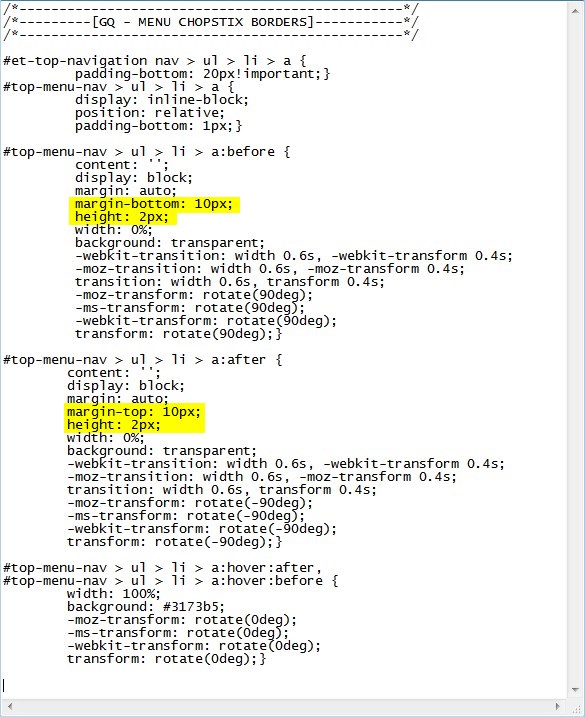
The following rules change the thickness and the location of the borders.
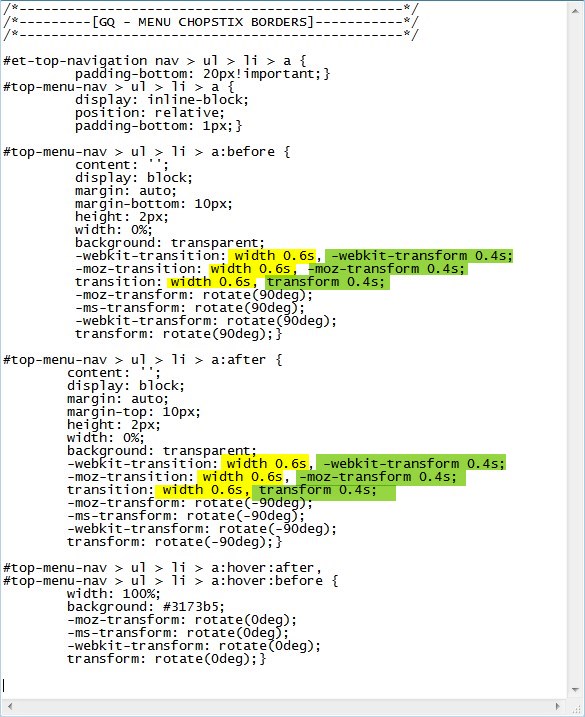
The following rules change the timing of the expanding width and the rotation. You can actually have different timing for each or make them the same. The yellow is the expanding width timing and the green is the rotation animation.
And lastly, the following rule changes the border colors.
And that’s it.
If you used this on one of your projects, please share a link below so we can see how you used it.
Have fun!
Well, that’s all for now. I hope you find this article useful.
![]()


I can’t achieve to make it work correctly with items that have sub-menu. Do you have any clue ?
It is not set to work with sub-menus
I would like that the border remain displayed in the end. Is it possible ? Thanks thanks…
Hi Mersier. That would require a different approach. I will add that to my list.