
In this tutorial, I will show you how to use a little custom CSS to add elegant image borders that extend when hovered over the images. It is a great way to add a little elegance to your next website project.
Let’s Get Started Setting Up The Standard Divi Image Module.
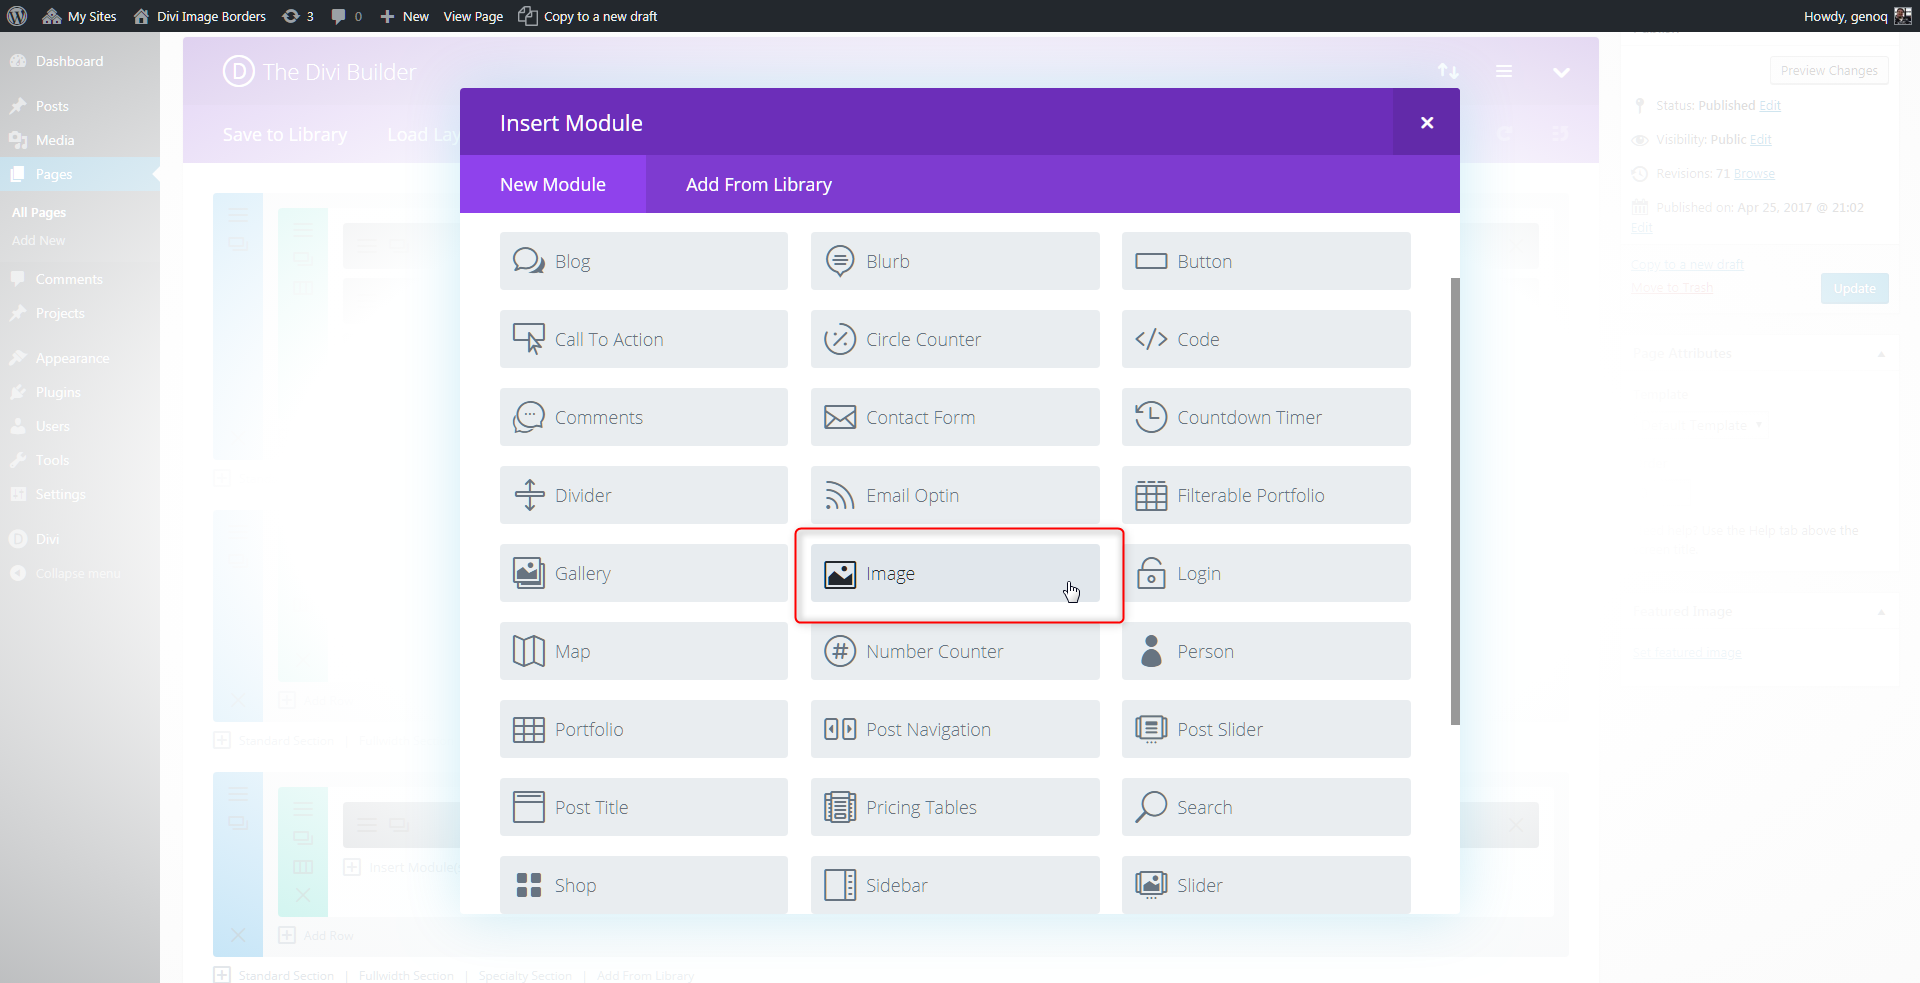
1. Start by adding a Divi Image Module to your page.
2. After you have added your image, go to the Advanced tab and add this CSS Class name: gq_m_image_double_tb_borders
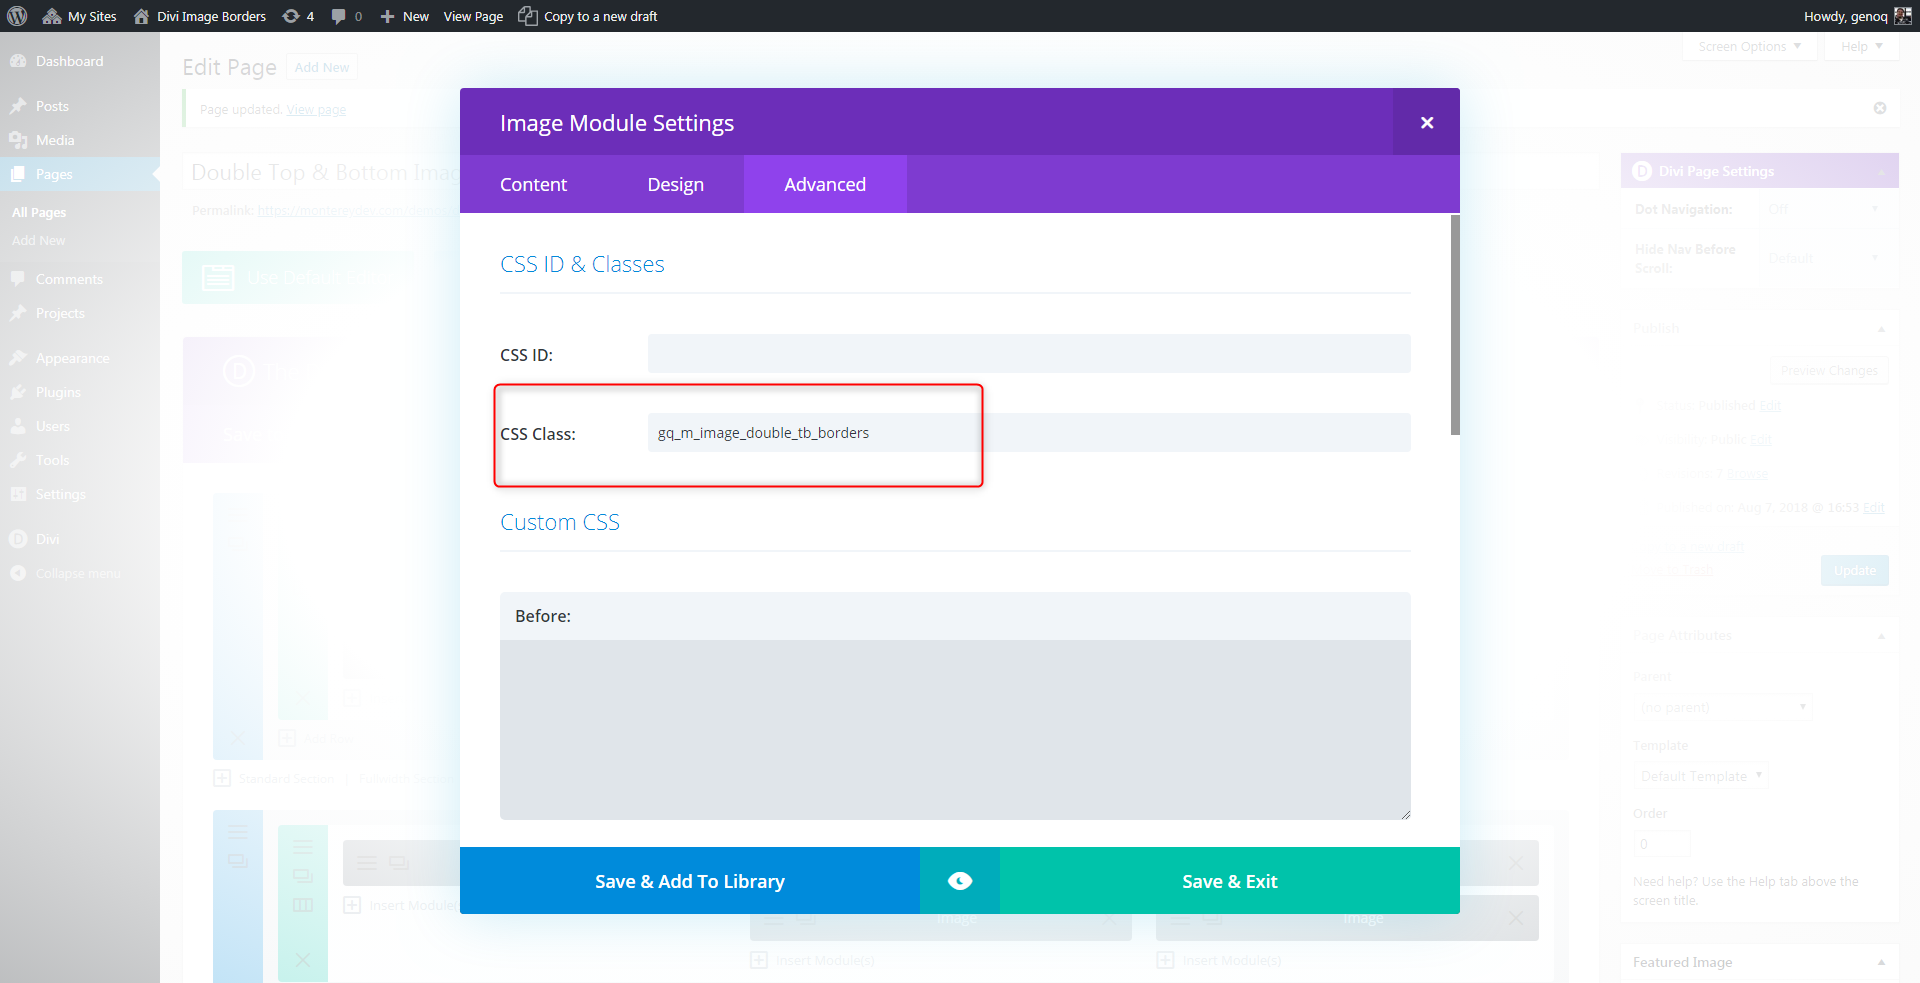
3. Select Save and Exit.
Adding The Custom CSS
If you are working with a child theme you can go to Appearance>Editor and open your stylesheet. Otherwise go to Appearance>Divi Theme Options>Custom CSS (which is located at the bottom of the first tab in Theme Options)
Add this CSS.
/*------------------------------------------------*/
/*-------[ GQ DOUBLE TOP AND BOTTOM BORDERS ]-----*/
/*------------------------------------------------*/
.gq_m_image_double_tb_borders .et_pb_image_wrap {
padding: 30px!important;}
.gq_m_image_double_tb_borders .et_pb_image_wrap:before, .gq_m_image_double_tb_borders .et_pb_image_wrap:after {
border-top: 1px solid #ccc;
border-bottom: 1px solid #ccc;
position: absolute;
content: '';
transition: all 0.3s ease-in-out;}
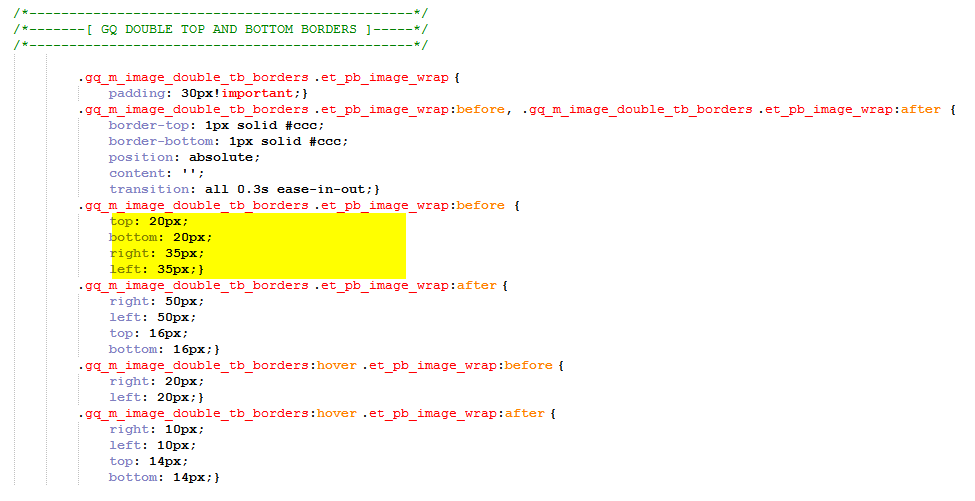
.gq_m_image_double_tb_borders .et_pb_image_wrap:before {
top: 20px;
bottom: 20px;
right: 35px;
left: 35px;}
.gq_m_image_double_tb_borders .et_pb_image_wrap:after {
right: 50px;
left: 50px;
top: 16px;
bottom: 16px;}
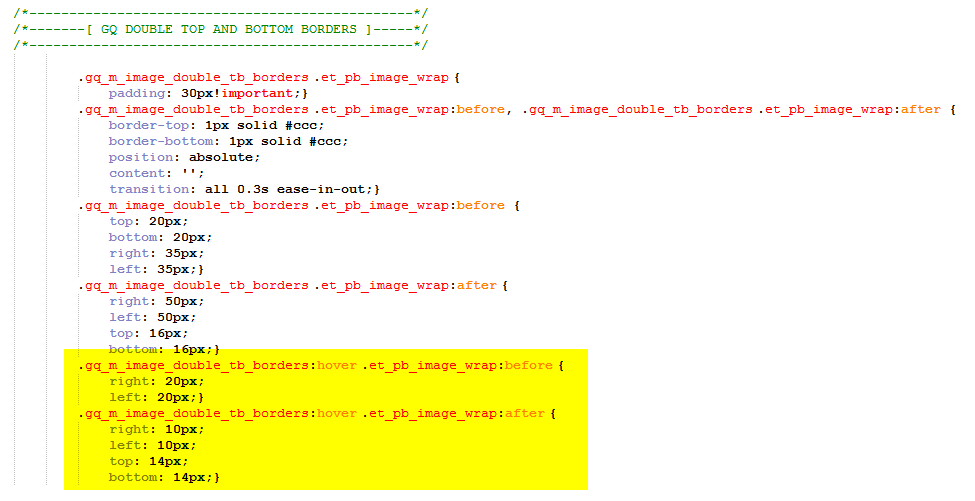
.gq_m_image_double_tb_borders:hover .et_pb_image_wrap:before {
right: 20px;
left: 20px;}
.gq_m_image_double_tb_borders:hover .et_pb_image_wrap:after {
right: 10px;
left: 10px;
top: 14px;
bottom: 14px;}
Making Adjustments To The CSS
As with all my tutorials, my goal is not to teach you how to use Divi Settings as much as it is to teach you how to customize your website learning a little CSS along the way. So with that being said, here are a few CSS tips to help you learn a little more about CSS.
This snippet is the total padding around the image which gives us some space to play around with the borders.

This snippet adds the borders. Here you can adjust the border thickness and color.

These snippets control the inner borders closest to the image. Top and Bottom adjust the proximity to the image and Right and Left adjust the width of the border.
These snippets control the outer borders furthest from the image. Top and Bottom adjust the proximity to the image and Right and Left adjust the width of the border.

And finally, this last piece adds the hover animation making the borders extend just a little more when hovering over the image.
And that’s it.
If you used this on one of your projects, please share a link below so we can see how you used it.
Have fun!
Well, that’s all for now. I hope you find this article useful.
![]()


Thank you Geno!
You are welcome.
Top ! Thank you for that
You are welcome.
Geno, How do you find the exact class that you want do modify?
Just experimenting using Inspect Tools. Also, over the years I have gotten pretty familiar with all of Divi’s classes.