How to Vertically Align Column Content in a Row
Divi columns align content at the top by default. In this tutorial, I will show you how to use a little custom CSS to vertically align content within a row.
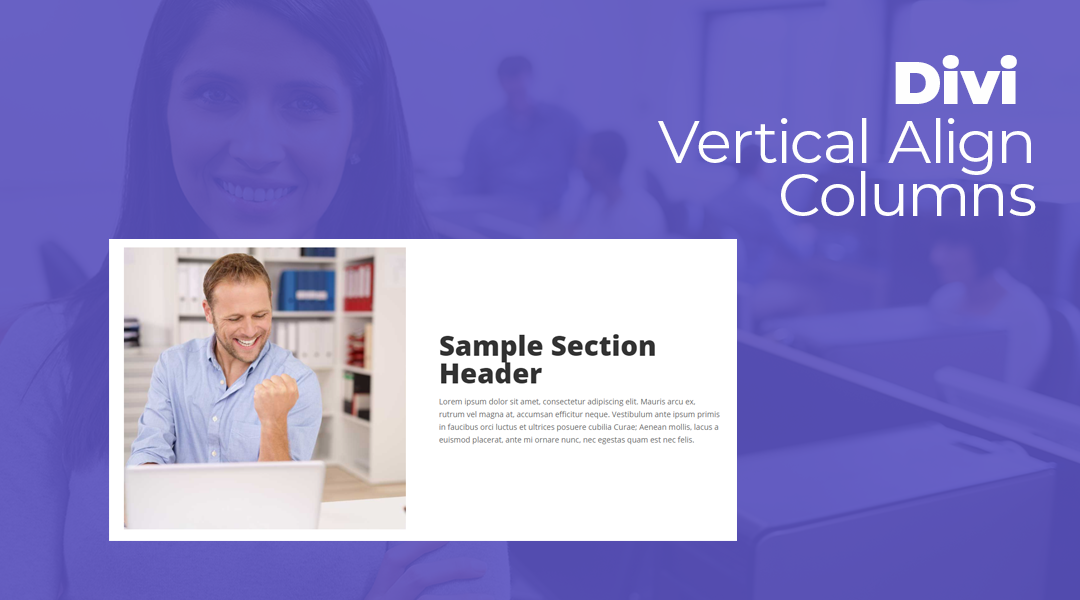
Before

After
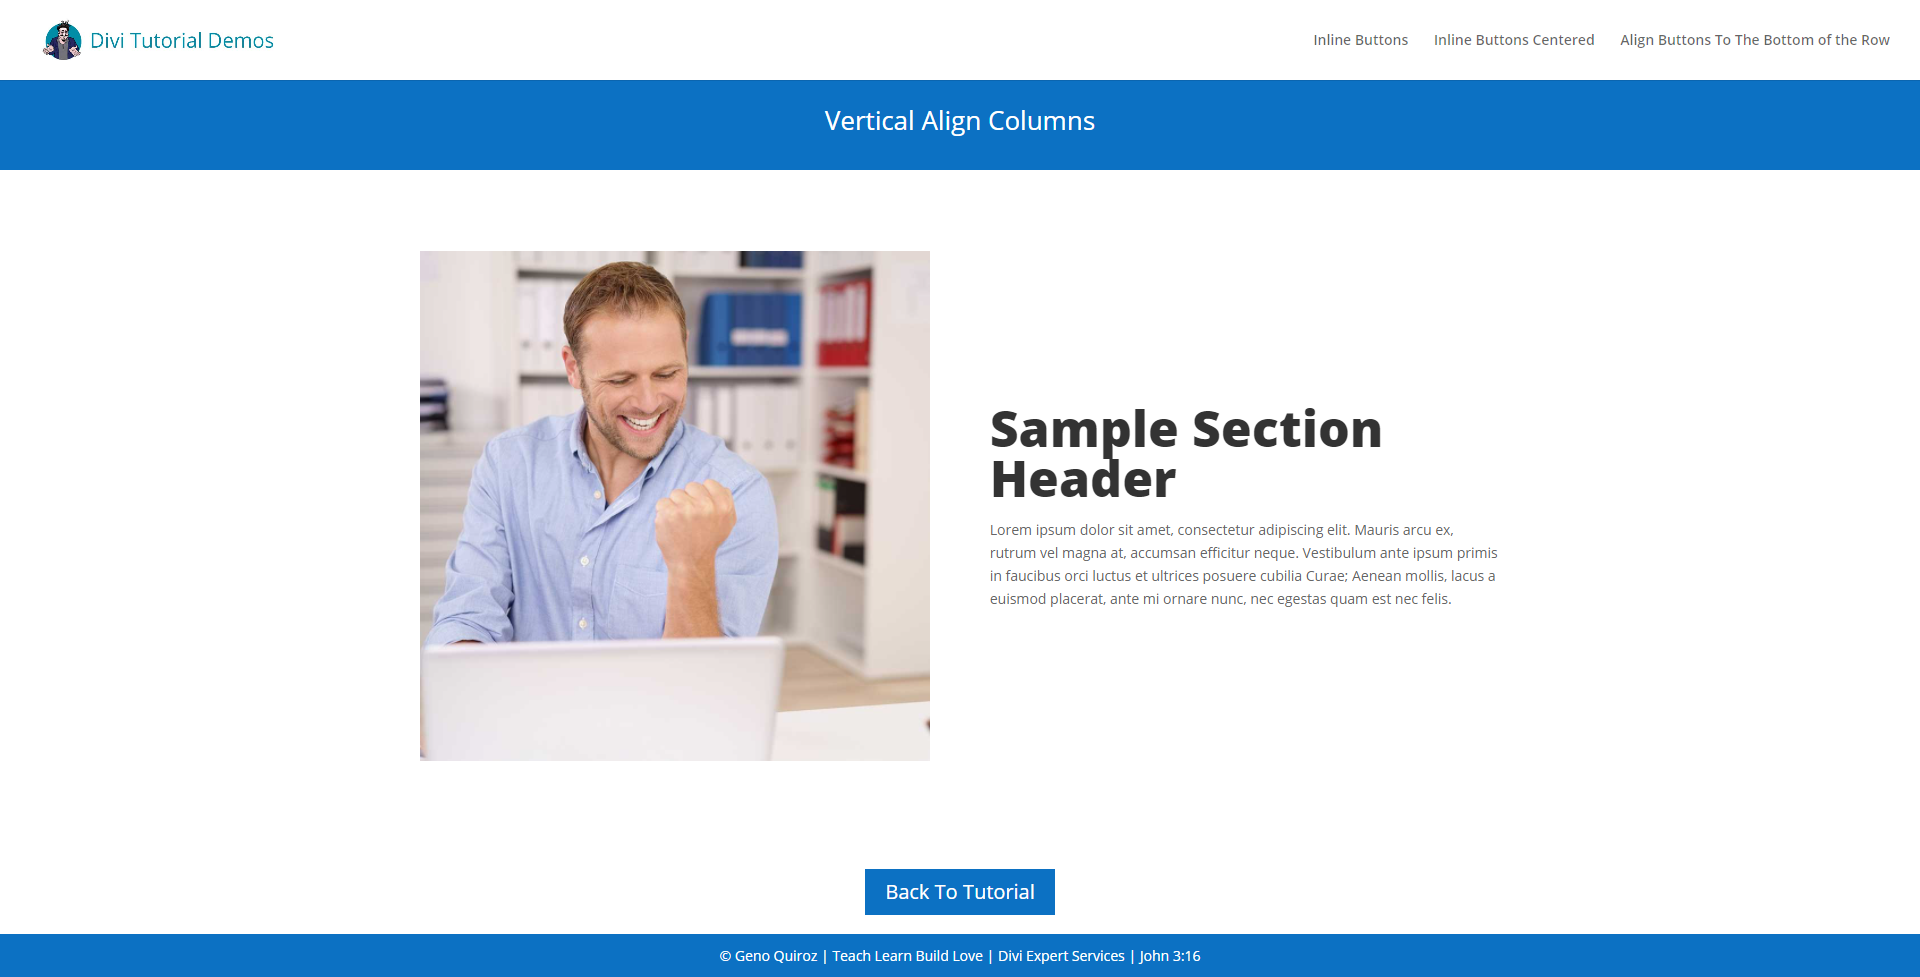
View Demo
Let’s Get Started Setting up the standard Divi Section & Classes.
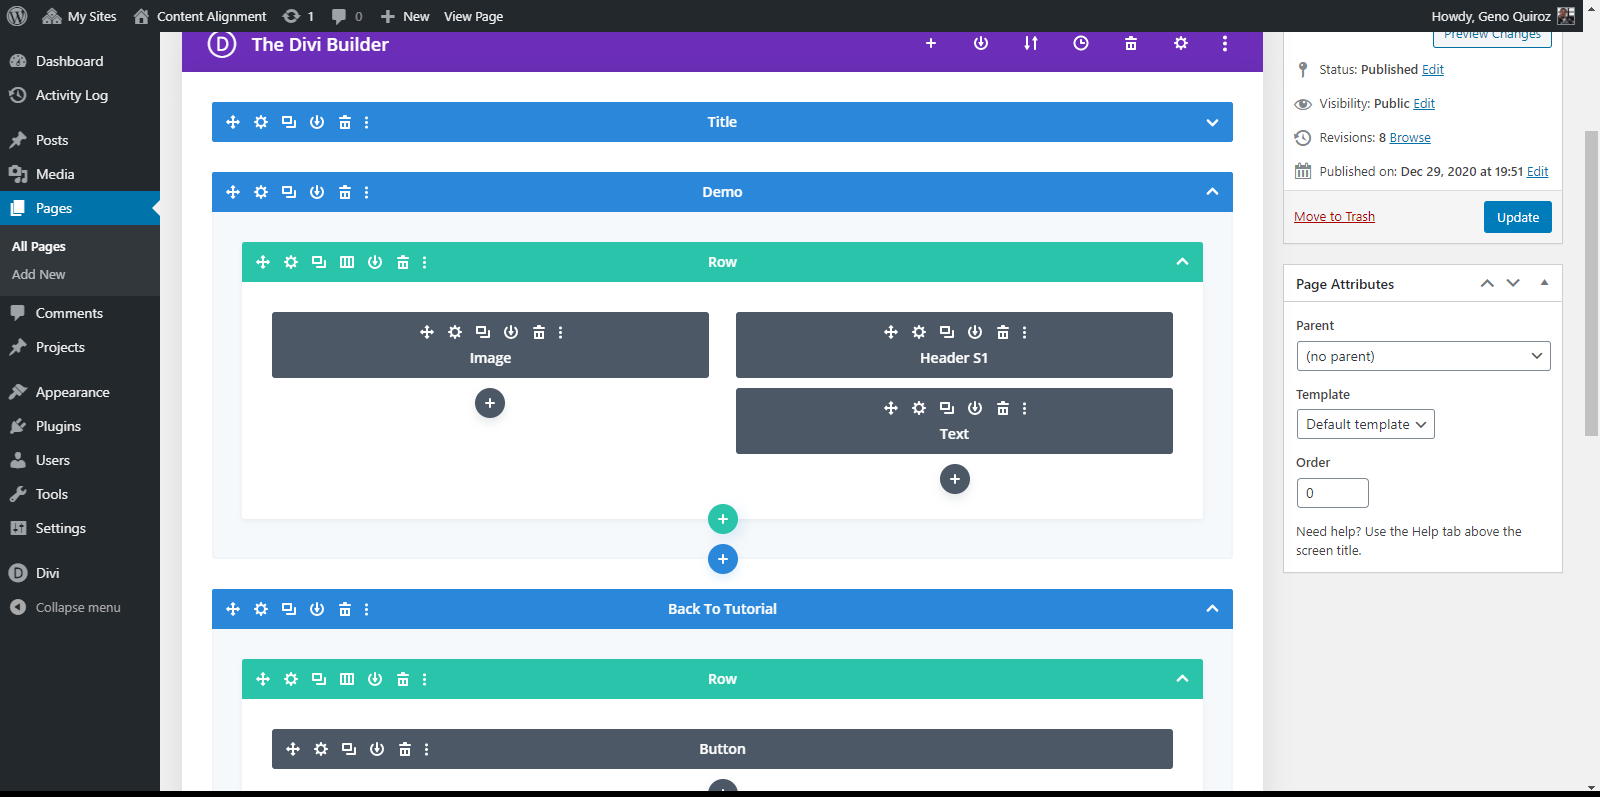
Adding the sections, rows, and columns.
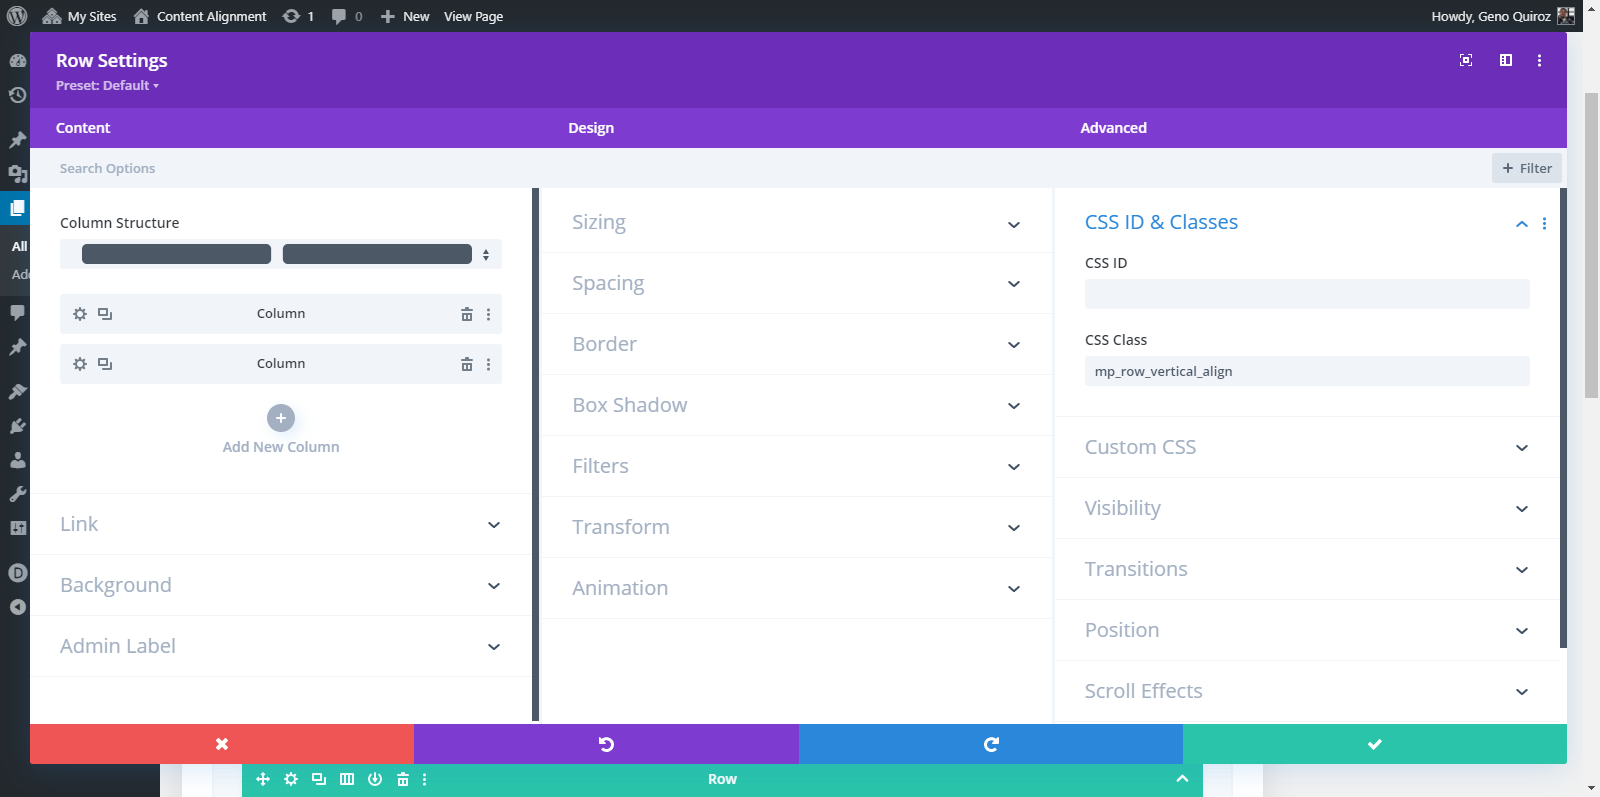
1. Once you have created a section, row and columns, open up the row settings and in the advance tab, add this to CSS Class: mp_row_vertical_align
2. Go ahead and add your modules. In my demo I use a large image module on the left and some text modules on the right
3. Save your page and move on to the magic of adding a little CSS.
Adding The Custom CSS
If you are working with a child theme you can go to Appearance>Editor and open your stylesheet. If not, go to Appearance>Divi Theme Options>Custom CSS (which is located at the bottom of the first tab in Theme Options)
Add this CSS.
	/*=================================*/
	/*=================================*/
	/* vertically align row using flex */

		@media only screen and (min-width : 981px) {
		.mp_row_vertical_align {
			display: flex;
			flex-direction: row;
			align-items: center;}}
And that’s it.
I keep this snippet in my default Divi Child Theme that I use for all my projects. So when I want to use it, I just add the class to any row on the website. If you used this on one of your projects, please share a link below so we can see how you used it.
Have fun!
Well, that’s all for now. I hope you find this article useful.