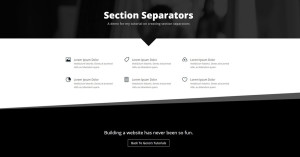
This is #2 in a series of cool sectional dividers inspired by the techniques used on tympanus.net. I even went in and implemented a few on my own website just for fun and to get in some practice http://montereypremier.com/portfolio/
The tips on tympanus.net are pretty much self explanatory when you dig into the stylesheet but may be a little intimidating to non-css folks.
There are just a few things you have to adjust in Divi. So here is a novice-friendly step by step tutorial for creating triangles between sections in Divi using only CSS.
Lets Get Started
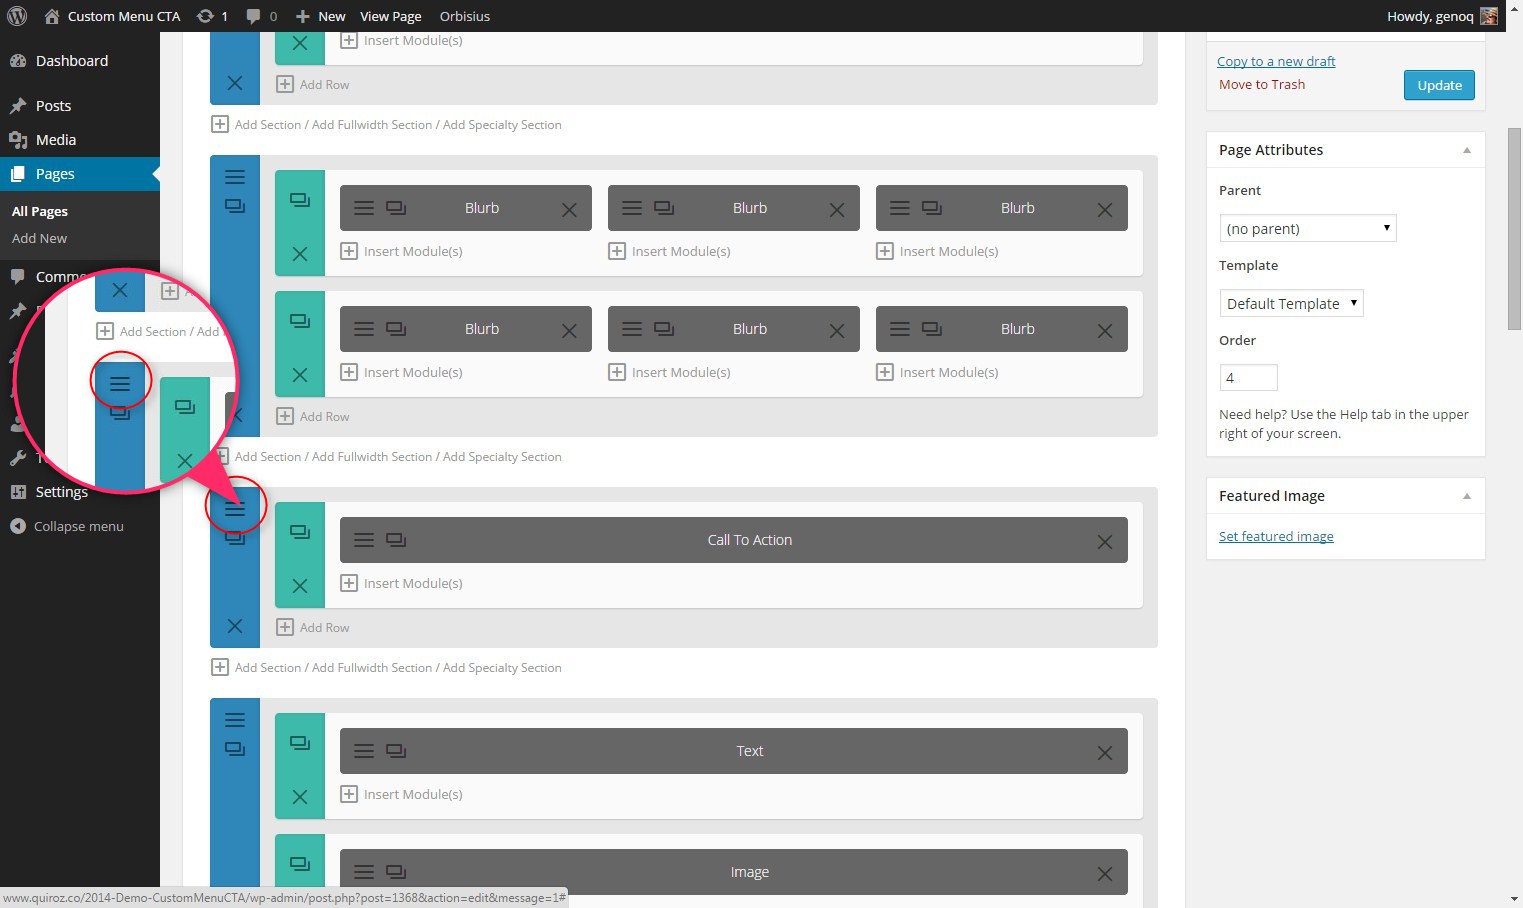
First thing you need to do is assign a unique CSS Class to the section you would like to have the triangles either above or below.
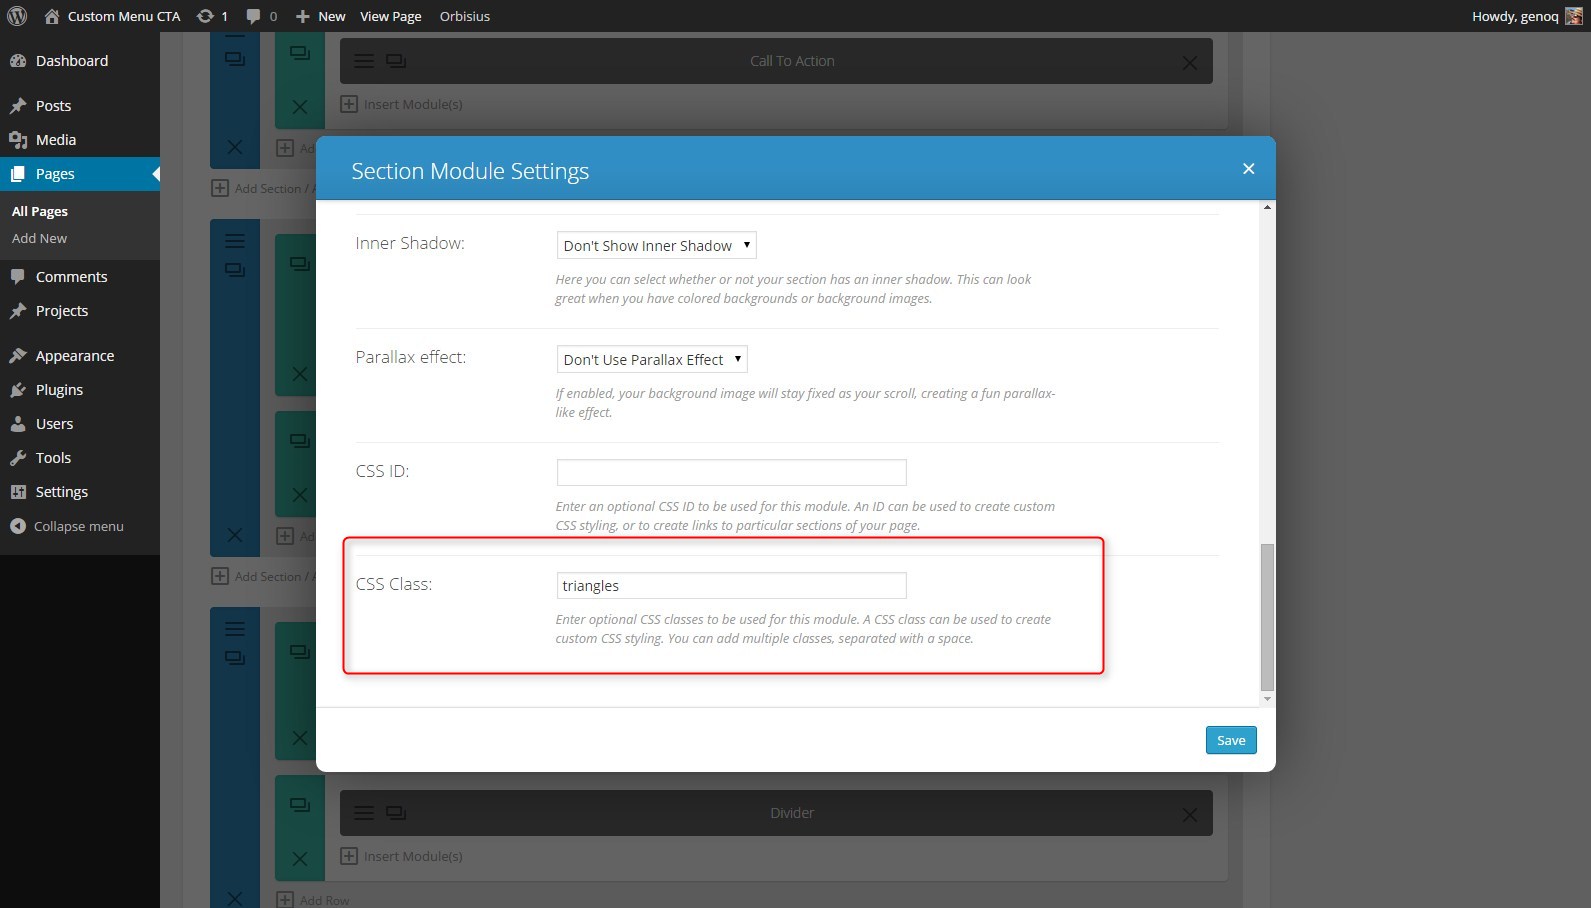
1. Open the section settings
2. Give it the following CSS Class: triangles
The Magic of CSS
Now lets start to dazzle things up a bit with some CSS.
If you are working with a child theme you can go to Appearance>Editor and open your stylesheet. If not, go to Appearance>Divi Theme Options>ePanel>Custom CSS (which is located at the bottom of the ePanel)
Add this CSS.
/*--------------------------------------------*/
/*------[Triangle Dividers - Quiroz.co]-------*/
/*--------------------------------------------*/

	.triangles::before, .triangles::after {position: absolute; content: ''; pointer-events: none;}

	.triangles::before, .triangles::after {
		left: 50%;
		width: 100px;
		height: 100px;
		-webkit-transform: translateX(-50%) rotate(45deg);
		transform: translateX(-50%) rotate(45deg);}

        /* Top arrow pointing down. Currently set as black. This can be removed if you don't want a top arrow */
    	    .triangles::before {top: -50px; background: #000;}

        /* Bottom arrow pointing down. Currently set to inherit the background of the section. This can be removed if you don't want a bottom arrow */
	     .triangles::after { bottom: -50px; z-index: 10; background: inherit;}
On some occasions this trick might put the triangle a little too close to the content in the section. To remedy this, just add a divider in between the content and the triangle and set its height at about 50.
This trick is ideal when you are working between sections with a solid background color and not an image. To change the triangle colors, just change this piece right here.

On the next tutorial, I will cover how to add a triangle that is transparent and shows the background image like I have on the header of my example demo page.
I love providing these tutorials for free but for those of you who use these to your financial gain, might you consider buying this poor guy a coffee? 😉
Well that’s all for now. I hope you find this article useful.
![]()


Not bad for a man who’s not in the office.
Appreciate the time you’ve taken to give us another great tutorial.
This doesn’t seem to be working, i can’t get rid of the top triangle that points up, I removed the part for that and it is still there.
You have to change the color of that top arrow above the section to match the section above. The “Before:” is for the arrows pointing up and down on top of the section and the “After” is for the arrows pointing up and down on the bottom of the section.
Still not working, you can see there is a diamond and it covers the lettering.
http://www.pietrascreative.com
Just got back to the office recently and see you removed it all together. Perhaps you can create a separate cloned page and leave it there for me to check out next time I get a chance. That way I can see if I can help you find a resolution.
Here is a duplicate page: http://www.pietrascreative.com/testpage/
I followed directions above and put back the triangles.
Try replacing this…
.triangles::after {
  bottom: -50px;
  z-index: 10;
  background: inherit;
}
with this
.triangles::after {
  bottom: -50px;
  z-index: 10;
  background-image: linear-gradient(135deg, transparent 50%, black 50%);
}
Followed by scrolling back up to that orange donation box at the bottom of the tutorial 😉
That worked! Thank You!
Awesome Geno…many thanks 😀
No me funciona
Be sure to go over it again step by step. If it still does not work, let me know.
Ok, si funciona, esperare los triángulos transparentes. Muchas gracias por tu tutorial
No hay problema. Los triángulos transparentes salen hoy 😀
We are waiting for the transparent triangle my friend!! 🙂
Its in the pipeline Leonidas 😀
Awesome! I’m creating an one-page website with Divi (first one with Divi) for 3 cameras! Check http://www.ricoh-wg.gr 🙂
Beautiful site Leonidas. Great job and thanks for sharing it here on the blog for others to see 😀
great tut, thanks!
I would love to make the triangle clickable, so when someone clicks the triangle, the page scrolls to the next section. Any suggestions on that?
Your welcome. I was thinking about adding that to one of my current projects. If I get around to it, I will let you know.
Hey Geno, I just realised, the triangles are not transparent, so it’s having it not responsive on mobile, how to manage this? Ex : http://prntscr.com/76zayb
You will have to add the transparency. Add the “background-image” to the .triangles::after and play around with it a bit until you get it just right. You may also have to play around with the “bottom:-50px” a little to position it just right. You can even play around with the z-index to put the triangle behind certain elements on the sections.
.triangles::after { bottom: -50px; z-index: 10; background-image: linear-gradient(135deg, transparent 50%, black 50%); background-image: -webkit-linear-gradient(135deg, #000 50%, transparent 50%); }thanks so much Geno! Love the tutorials. Will have to blog about you and link back. I have a question. I implemented this on my website home page, and when making the screen smaller like a mobile phone, it looks fine. But if i actually check the site on my mobile phone, the triangles are reversed? They point up and cover the text instead of pointing down. any Ideas? browser related?
http://ravenousravendesign.com
Hi Heather. It looks like you got this sorted out? Your website is absolutely gorgeous. Best use of the Divi Sidenav I have seen so far. Thanks for sharing. 🙂
hi, i’m new to that..excuse me..how to add multiple css edits in custom css..i have already some lines for the logo behavior in the menu..thanks in advance
How do I make the triangle smaller? Like 33% or 50% smaller?]
Hey Geno, another great article. I was inspired by you and decided to try and recreate as many section dividers as possible. Here’s a link to the page I compiled them on with step by step instructions:
http://diviguide.com/section-dividers/
I’ve realized that one of the keys is utilizing Divi 2.4’s new Custom CSS boxes.
Hey Mike your tips are super useful. Thanks for sharing here and on your website. Just found your Facebook page as well. I am loving it. Keep up the great work 🙂
Awesome Mr Geno Genius
Coffee is on me
Thanks!
Hi Geno,
Thanks for the article looks good. I have implemented it on a dev site in a Fullwidth Section Module (Header), changed the color and all looks well. I don’t need the top triangle in this case, so I removed some of the code as follows, but not sure if this is totally correct:
/* Larger font size and uppercase h2 header titles*/
h2{font-size:35px !important; font-weight:bold; text-transform:uppercase;}
/*——————————————–*/
/*——[Triangle Dividers – Quiroz.co]——-*/
/*——————————————–*/
.triangles::before, .triangles::after {position: absolute; content: ”; pointer-events: none;}
.triangles::before, .triangles::after {
left: 50%;
width: 100px;
height: 100px;
-webkit-transform: translateX(-50%) rotate(45deg);
transform: translateX(-50%) rotate(45deg);}
/* Bottom arrow pointing down. Currently set to inherit the background of the section. This can be removed if you don’t want a bottom arrow */
.triangles::after { bottom: -50px; z-index: 10; background: #0a0c0e;}
Is there anything else I should remove?
Regards, Alan
Thank you for the howto!
How would this be implemented in main menu section with triangle pointing up towards active menu item?
I will see what I can come up with when I get some time 🙂
Hi Geno ! thanks for your incredibly easy to follow tutorials,
I ‘ve implemented the big triangle on my section , however as my below section is not solid background color but backgroud image , the delta are showing in an other color , is it possible to fill this gap with the undersection background ?
many many thanks!
Unfortunately this does not work with an image background in that section.
thanks for your answer !
You can move the triangle to the top of the IMAGE section to achieve the same effect by reversing the color treatment and creating a solid arrow at the top of the image:
.big-triangle:after,.big-triangle:before {
content:”;
position:absolute;
top:0;
width:50%;
z-index:100;
border-bottom:50px solid transparent;
-moz-transform:rotate(0.000001deg);
-webkit-transform:rotate(0.000001deg);
-o-transform:rotate(0.000001deg);
-ms-transform:rotate(0.000001deg);
transform:rotate(0.000001deg);}
.big-triangle:before{
right:50%;
border-right:75px solid white;
border-left:1000px solid;}
.big-triangle:after{
left:50%;
border-left:75px solid white;
border-right:1000px solid;}
[Note: I changed bottom > top, and transposed the color settings (transparent triangle > white, colored border > transparent) — adjust the color to suit your application.]
Hey Geno!
Fantastic tutorials, well set out and have me coming back all the time.
Quick question, is there a way I could adapt this to a module? Basically what Im trying to achieve is the “Triangle” at the bottom of a blurb module and below the module would be the persons name, like a speech bubble. I managed to create an alternate css class with the size triangle I wanted but it of course aligns to the page as opposed to the module.
Any tips?
Thanks again,
Brendon
I will play around with it when I get some time 🙂
Is there a way to create these on individual modules? Like a series of text boxes that would lead into one another so the triangles could be used to explain a step by step process? I was able to use the triangles class to get the dividers working when I did an entire section but when I added three text modules and tried to use the class on each module it just placed one large diamond that sat on top of all three sections.
That sounds like a cool idea, but this tutorial probably isn’t the best fit for that. Maybe Geno could teach us how to do that in the future. In the meantime, I would try adding triangle images in the Divi Builder on the page.
Works perfect for me, thanks a lot for this tuto.
What shall we adjust if we wanted to have those triangle pointing right or left between two modules in the same row ? Could we do that ?
Great! Glad it works for you!
As far as I know, putting triangles between modules cannot be done with this tutorial.
Thanks for visiting!
Hi Geno pardon my ignorance but I am a bit confused about the terminology triangle before and after section and which section to place the CSS class: triangles – I want to place a triangle point down to the section below so do I place the CSS class: triangles in the section above the one I want it to point down to? I have followed the steps and nothing seems to be working. I would really like to use this and would appreciate any help you can give me.
Can I send you an email with screen shots of what I have entered?
Elementor has shape Dividers. Does Divi have something similar?
Not built in. It is added via CSS
Hi Geno,
This working great !
I have 1 quick question, if i want to have this just the arrow down with out the top part & make it inherit the background color, what i need to change?
Also where i can control the size of it?
I have tried some of the codes you gave here but it’s not looking so good 😀
Thanks,
Pinto
I am thinking about creating a new series of tutorials on these dividers based on what I have learned since writing these. I hope to have them out starting in the next few weeks. I plan to add all the news ones Divi added to their settings but using pure CSS 🙂
Hi Asit,
Did you found a shape like this one in the shapes divider in Elementor?
Your solution in the comment worked for me too. Thank you!
Awesome!