I have a tutorial on swapping the logo when you scroll down and have the fixed header enabled. But its rather clunky unless you add some cool transition effects.
https://quiroz.co/change-the-logo-when-scrolling-down/
So here is the new and improved version which has the vertical logo slide up and the horizontal (or square) logo slide in from the left.
You can check out the demo here: https://nationalinfantrymuseum.org/
Lets Get Started
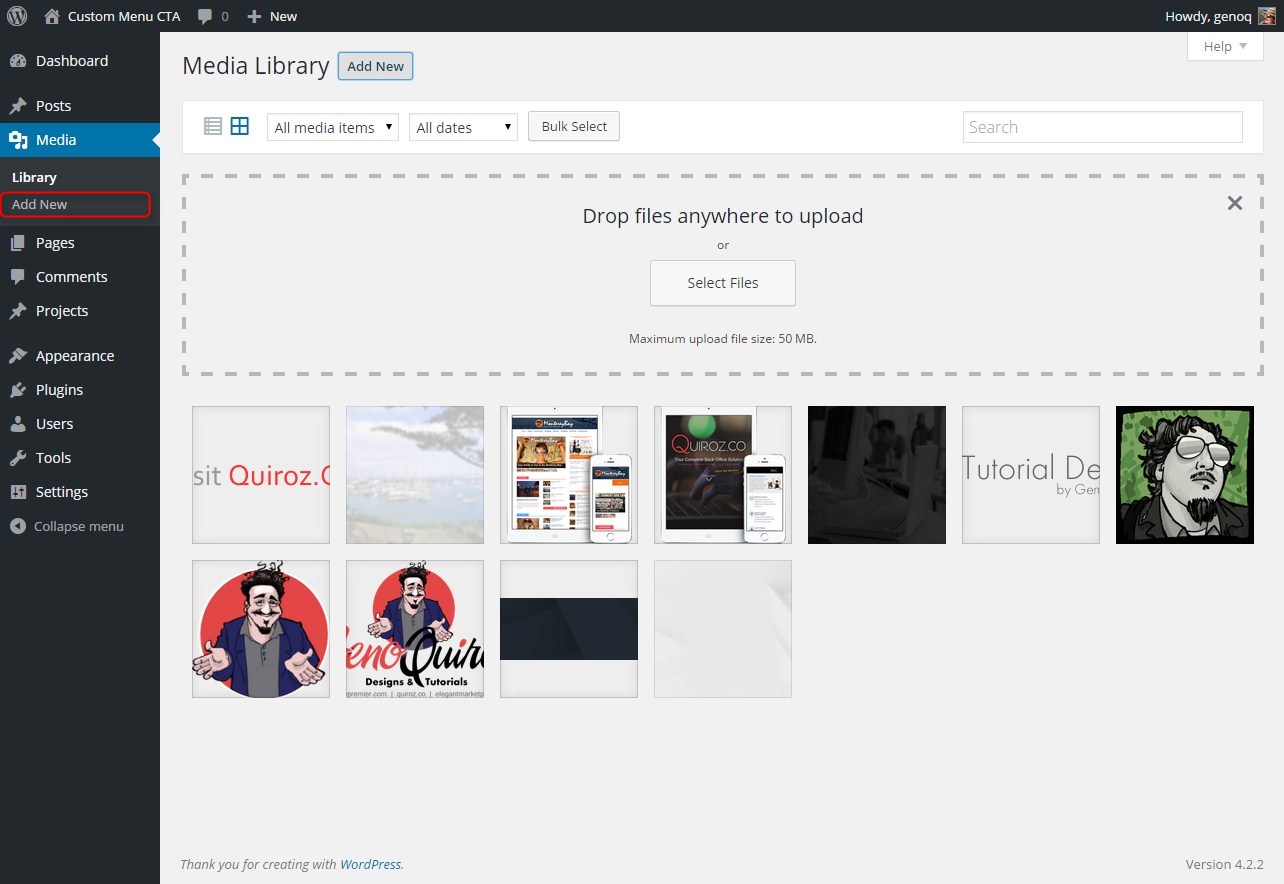
First thing you need to do is add your second logo (which I will refer to as logo2) to your media files.
1. Open Media Menu and Select Add New
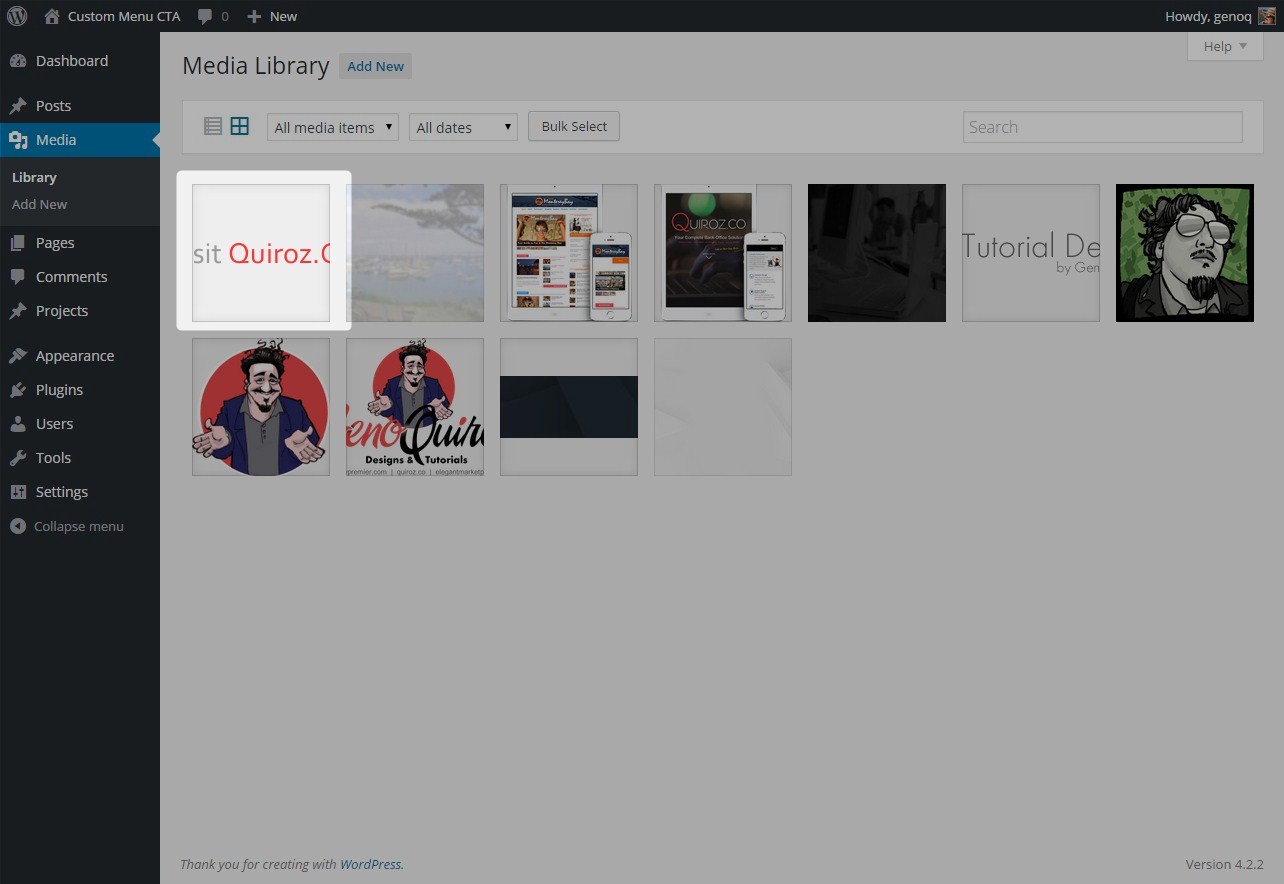
2. Once you have added Logo2 to the media library, click on the image to bring up the image detail
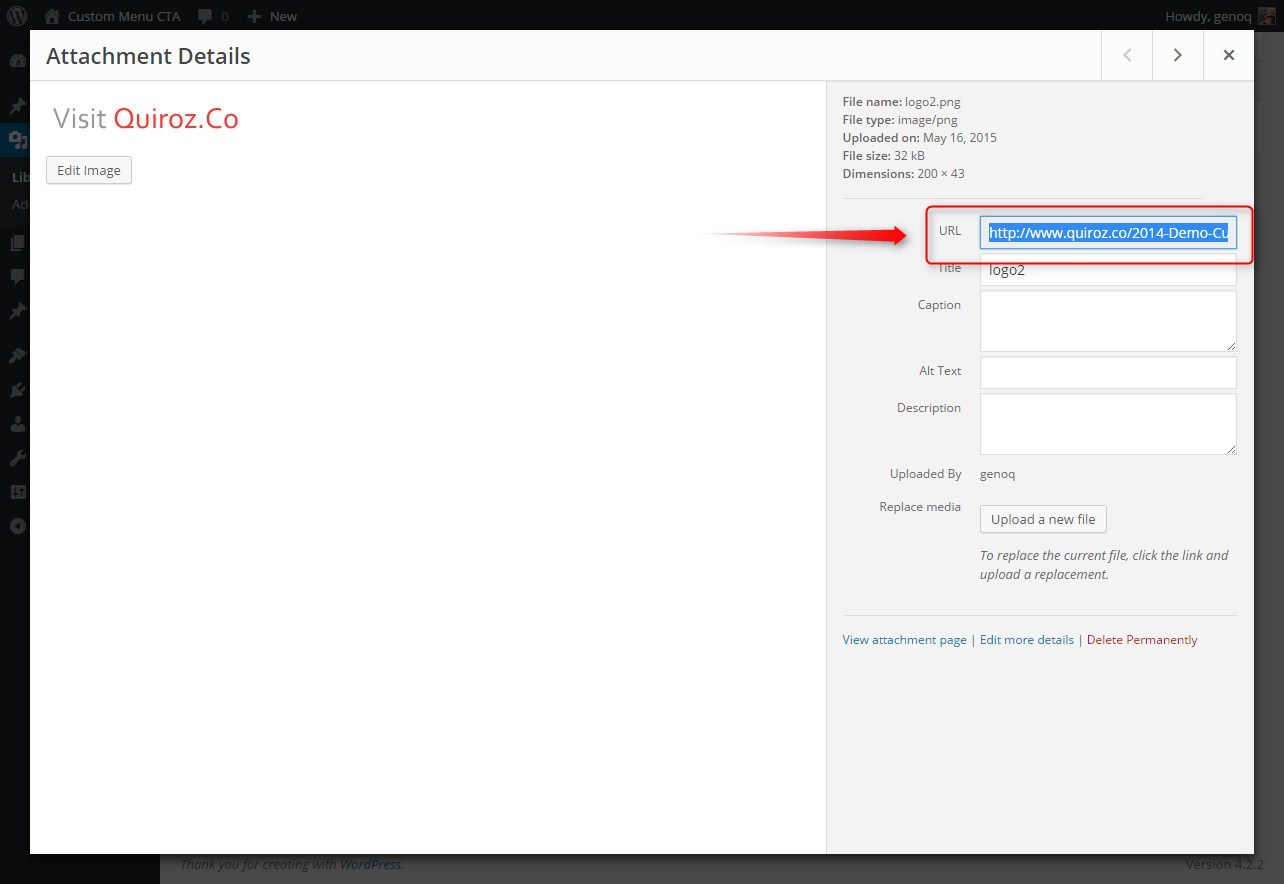
3. Now that you can see the details, copy and paste the URL onto your notepad for future reference. You will need this in a moment.
Modify The header.php
If you are working with a child theme you can go to Appearance>Editor and open your header.php. If not, I strongly recommend you create a child theme for this as any modifications to your header.php will be erased when your Divi theme is updated. Here is a tutorial on creating a child theme.
4. So after uploading logo2 through the dashboard’s media section, I needed to find the following original logo code in the header.php file.
<a href="<?php echo esc_url( home_url( '/' ) ); ?>">
<img src="<?php echo esc_attr( $logo ); ?>" alt="<?php echo esc_attr( get_bloginfo( 'name' ) ); ?>" id="logo" data-height-percentage="<?php echo esc_attr( et_get_option( 'logo_height', '54' ) ); ?>" /></a>
and then add the following code after this original logo code.
<!-------------------------------->
<!---------- 2nd Logo ------------>
<!-------------------------------->
   <a href="<?php echo esc_url( home_url( '/' ) ); ?>">
   <img src="2nd logo url" alt="<?php echo esc_attr( get_bloginfo( 'name' ) ); ?>" id="logo2" />
   </a>
<!-------------------------------->
<!---------- 2nd Logo ------------>
<!-------------------------------->
Now swap out “2nd logo url” in the code above with the actual url for logo2 which I asked you to save earlier on notepad.
The Magic of CSS
Now lets start to dazzle things up a bit with some CSS.
If you are working with a child theme you can go to Appearance>Editor and open your stylesheet. If not, go to Appearance>Divi Theme Options>ePanel>Custom CSS (which is located at the bottom of the ePanel)
Add this CSS.
/*------------------------------------------------*/
/*--------------------[LOGO]----------------------*/
/*--------- [CUSTOM CSS BY GENO QUIROZ] ----------*/
/*------------------------------------------------*/

/* logo over top header and reduce logo container width */
	#top-header {z-index: 99998!important;}
	#logo {z-index: 99999!important; position: relative!important;}
	.et_header_style_left .logo_container {	width: 150px;}

/* logo swaps */
	#logo {display:block!important; opacity:1;}
	#logo {
    		max-height: 480%!important;
    		margin-top: -111px;
    		z-index: 9999;
    		position: static;
  		-webkit-opacity: 1;
  		-moz-opacity: 1;
  		opacity: 1;
		-webkit-transition: all 1s ease;
  		-moz-transition: all 1s ease;
  		-ms-transition: all 1s ease;
  		-o-transition: all 1s ease;
  		transition: all 1s ease;}

	.et-fixed-header #logo {
		-webkit-opacity: 0;
  		-moz-opacity: 0;
  		opacity: 0;
		margin-top:-500px;}

	#logo2 {
    		max-height: 153%;
    		margin-top: -230px;
		margin-left:-1650px;
  		-webkit-opacity: 0;
  		-moz-opacity: 0;
  		opacity: 0;
		-webkit-transition: all 1s ease;
  		-moz-transition: all 1s ease;
  		-ms-transition: all 1s ease;
  		-o-transition: all 1s ease;
  		transition: all 1s ease;}

	.et-fixed-header #logo2 {
		margin-left: 0px;
		margin-top: 163px;
  		-webkit-opacity: 1;
  		-moz-opacity: 1;
  		opacity: 1;
		-webkit-transition: all 1s ease;
  		-moz-transition: all 1s ease;
  		-ms-transition: all 1s ease;
  		-o-transition: all 1s ease;
  		transition: all 1s ease;}


	@media only screen and (max-width : 980px) {
		#logo2 {display:none;}
		#logo {max-width: 75%!important; margin-top: -80px; margin-left:10px}}
This code is designed top work with a Top Header enabled. If you don’t use a top header, you will have to reduce or remove the negative margin-top.
Keep in mind you will most likely have to adjust the following to make it work with your specific image sizes.
- max-height
- max-width
- margin-left
- margin-top
If you want to have either of the two logos link to another page, check out this complimentary tutorial.
How To Link The Header Logo to Another Page
And that’s it! Remember you may have to adjust some of the logo width and margins depending on the size difference of the two images you are using. You may also have to adjust header padding and margins. But this should be enough to get you started and keep you distracted for the next few days. Have fun!
Well that’s all for now. I hope you find this article useful.
![]()


Hi Quiroz, and thanks for yet another great tut! I ran into some issues trying it out on a build using the Munder Difflinn child theme from GruffyGoat. I added the code in the header and the css in sthe child stylesheet, and sure enough, the second logo was there, but no animation. Then I, in the customizer/header&navigation/header elements, hooked of for show social icons, search icon and added a phone number and email and saved. That mede both of my logoes to vanish. I removed the settings in the header elements, keeping the default header style. Logoes still missing. Then I removed the newly added css and header code and saved, the original logo still was missing! I removed the logo in the Divi Theme options and added it again. Still no logo!!??
I don`t know if it is something in the child theme style sheet keeping the animations from happening, but removing header code and css from you should fix everything again, right? Any help would be highly appreciated! Link: http://nortec.kunde.reklamebanken.com/ (password: stevejobs)
Try taking the child themes original header.php in the original download folder stored on your computer and copying the entire page and pasting it into the child theme header.php. And make sure you have a logo installed in Divi Theme options. If everything works fine again after that, then it is probably related to a custom header.php in Dundler Mifflin
Hi, Thanks for the wonderful tutorials that you freely share here. I’m trying to replace the CSS that you shared in the tutorial on changing the logo when scrolling down with the one you shared above. I have tried changing the width, height, etc., but cannot make it work on http://probinglens.com/. Could you please tell me what possibly could be wrong?
Looks like you figured it out. Looks great 🙂
Any help on adding animation? it changes with a jerk.
The swap is designed to be smooth and it is animated. Check out the demo here. If the demo has a jerk on your end, it might be a slower internet connection or browser issue.
https://quiroz.co/swap-horizontal-logo-with-vertical-logo-on-scroll/
Hi Geno, and thanks for your response! Just back from easter break and eager to fix this issues. I have tried uploading the original header.php for the Munder Difflin theme, but no change, the logo is still missing. I made sure the logo is uploaded in the Divi options.Tried activating the original, and that made the logo come back, but activating the Munder Difflin theme removed it again. Also tried deactivating all plugins without any luck. Any further help would be highly appreciated!
Problem solved, it was the customizer, header elements that caused the problem 🙂
Cool. Thanks for sharing.
It would be interesting to see how you would do a third logo for mobile only devices? Any css tricks or thoughts on this?
That could definitely be done, it would be very similar to this tutorial. Here is a link that shows one way to accomplish this… http://www.elegantenthusiast.com/logo-swapping-on-mobile-and-pc/
Hi, I’m a bit of newbie when it comes to Divi so please excuse the fact that I may be missing something simple but when I add the 2nd logo code it just makes my site stop working. The backend is fine but front end just totally disappears. I replaced the URL with my 2nd logo url and added it after the noted code so it looks like:
<a href="”>
<img src="” alt=”<?php echo esc_attr( get_bloginfo( 'name' ) ); <a href="”>
<img src="my 2nd logo url here" alt="” id=”logo2″ />
but suddenly the lights go off! What am I missing…?
Many thanks in advance!
Hello Raquel! It is hard to say what the issue might be without seeing it. The code placement is very important when you are modifying the php files, so that could be an issue. Can you provide a link to your site so we can check it out?
Ahhh I was adding it to the wrong bit as I didn’t see the whole snippet of the reference code. See, I told you I was a newbiew, totally green! Thanks Jerry.
Hi Geno, I seem to be falling at the first hurdle on this one. The header.php from my Divi install (version 3.0.18) does not have the code you say to look out for in step 4. Does this tutorial work for this version of Divi? Thanks a lot in advance for your help.
Hi Tim! This tutorial still works on Divi 3+. Just checked the header.php on Divi 3.0.18, the code is there on line 213 & 214.
Hi Jerry, Thanks for the reply. Turns out the mac text editor is not sufficient to view the file properly, I’m still learning! I downloaded Atom and have managed to make it work. I had to adjust the top margins until the logos were sitting in the right place for each header, but I assume this is ok. Could please explain a little bit what each section of CSS is for, just to be clear?
#logo
.et-fixed-header #logo
#logo2
.et-fixed-header #logo2
I assume that #logo is for the primary position and .et-fixed-header is for the scrolled position. Why is there fixed header css for #logo and primary position css for #logo2?
Thanks a lot!
Also, is it fine to have the Divi header.php file copied into the child theme folder with this code added? If Divi is updated so that the header.php changes, the code (with the exception of the code added from this tutorial) will not match between the two. Will this cause problems?
Yes, that is what you want. Copy the header.php into the child theme folder and make the changes there. When that file is in the child theme folder, it is used instead of the Divi header.php file.
Ok, thats what I thought. However, if in a future update to Divi the header file changes, it will still try to use my child theme file so wouldn’t this lead to problems? I thought the idea of child theme files was that you only had the changed or additional code in them and the rest is read from the parent file?
That is true of the stylesheet, but php files are used instead of the parent theme’s php files. The header.php file for Divi hasn’t changed in a very long time, it isn’t modified very often. But yes, if it does change at some point in the future, your site would continue using the older version…or you would need to update it and redo the addition of code for the second logo.
Hey Tim! You are correct, the #logo is for the primary position, and the .et-fixed-header is for the scrolled position. The reason there is CSS for both positions for both logos is to setup the swapping animation. Notice the negative margins and the transitions. That is what gives it that smooth slide in animation.
I have been working on this effect for a little while, and no matter what I try, I cannot get my 2nd logo to display at all. The main logo appears (gotta work on the size and location, but that’s not too difficult to figure out). But when this logo slides up and out of the menu, the 2nd logo doesn’t show up at all. Here is a link to my url http://wordpress-34181-73497-210981.cloudwaysapps.com/. (I just started working on this new site, so everything you see on the page is just a place holder). Any idea of what I’m doing wrong? This is a beautiful effect, and I’m hoping I can get it working. Thanks for your help!
Update: I was able to get the 2nd logo to show up. I was putting the php code in the wrong spot. Now I just have to tweak the size and margins for both logos, and I should be good to go. Thanks for posting such great tutorials!
I use this trick at one of my work, but in the Safari browser the second Logo is incorrectly displayed. Use the Top margin to lower the second logo. Could You help me?
Thank you!
The url: http://www.barkaetterem.hu/nyito/
Hello Geno. When I click how to create child theme tutorial it says “page not found” can you kindly post the link for “create child theme tutorial. Many Thanks
No worries I found it 🙂 https://quiroz.co/5-easy-steps-to-creating-a-child-theme/
Hi thank you for this tutorial. I want to know if the text color could be changed too on scroll?
Yes it can. You can do that in the customizer. Just go to Fixed header settings.
Hello
I have inserted it and it works very well on desktop
in mobile the first logo is to big
the second logo is not coming
pls help
https://divi.dinabox.de/
Try adding this CSS
@media (max-width: 980px) {
.et_header_style_left #logo, .et_header_style_split #logo {
	max-width: 50%!important;
}}